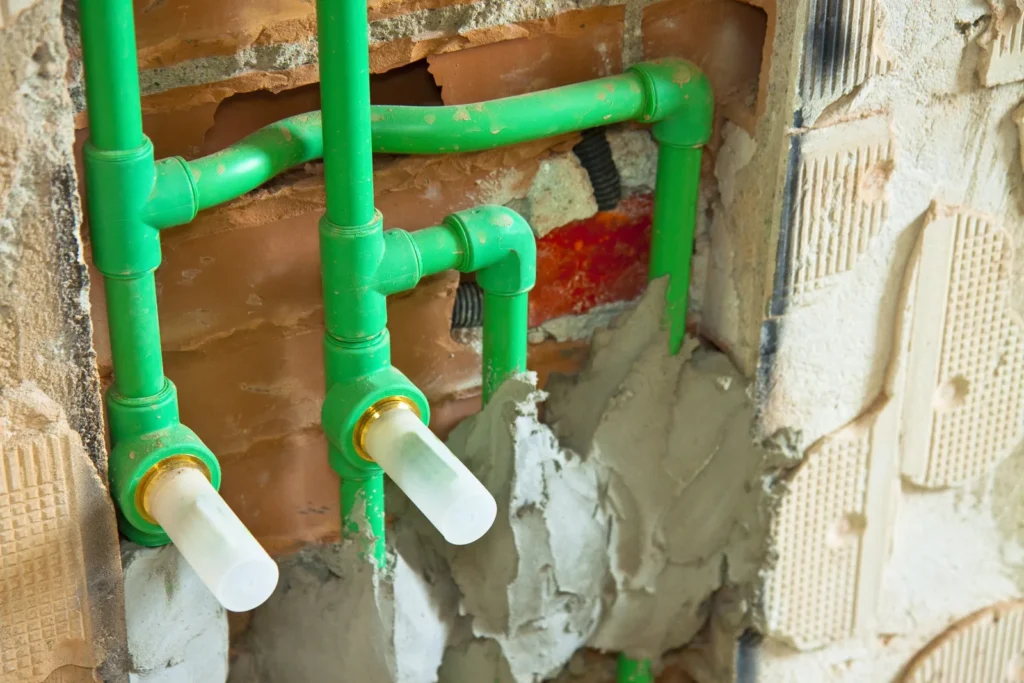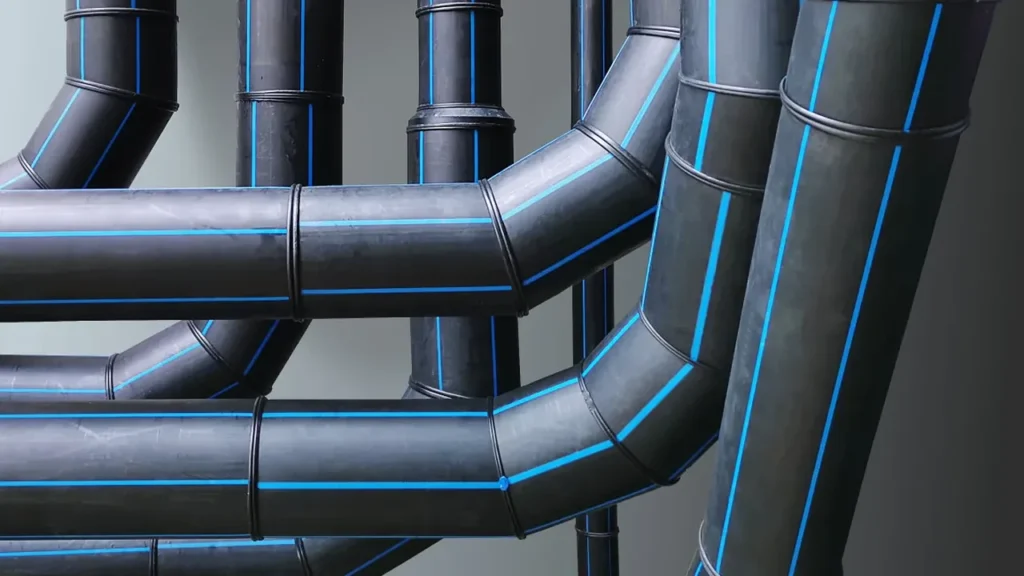
Search for a pipe repair coupling and almost everything you find was written for PVC or copper: a slip coupling that telescopes over the break, a push-fit brass body you shove onto a wet line, a solvent weld that sets in ten minutes. None of it transfers to PPR. Polypropylene random copolymer has no solvent-weld route at all — the pipe and the fitting are melted into one piece, and no standards body or PPR manufacturer publishes a true slip coupling for it.
That changes the whole question. Because PPR fusion needs a dry, clean surface, you cannot fuse a wet pipe, and the repair is never really about finding a clever coupling. It is about isolating the smallest possible zone so the cut ends can dry, then picking the joining method that fits the space you have left. ISO 15874-3 recognises three legitimate routes — socket fusion, electrofusion, and mechanical fittings — and choosing between them is the actual skill.
Key Takeaways
- There is no true slip or telescoping repair coupling for PPR. PPR cannot be solvent welded, so every permanent repair is a fusion joint or an approved mechanical fitting.
- ISO 15874-2 clause 6.2.2 states that pipes intended to be joined together by fusion shall have a minimum wall thickness of 2,0 mm. Below that, socket fusion is off the table.
- Each socket-fusion joint swallows a fixed length of pipe: 14,0 mm at 20 mm OD, 16,5 mm at 32 mm, 24,0 mm at 63 mm. That number sets your replacement-piece length.
- Fusion runs at 260 °C. Heating time is 5 s at 20 mm and 24 s at 63 mm — but below +5 °C those rise to 8 s and 36 s.
- Use an electrofusion coupler where the pipe cannot move axially. It slides onto a fixed end and needs no insertion travel, unlike socket fusion.
- Weld-in saddles add a branch to an existing line without cutting out a section, but only on 40–160 mm pipe. A 20 mm branch cannot take one.
- Pressure test at 1,1 times the maximum design pressure, then flush and commission promptly — a repaired branch left full and stagnant becomes a hygiene problem.
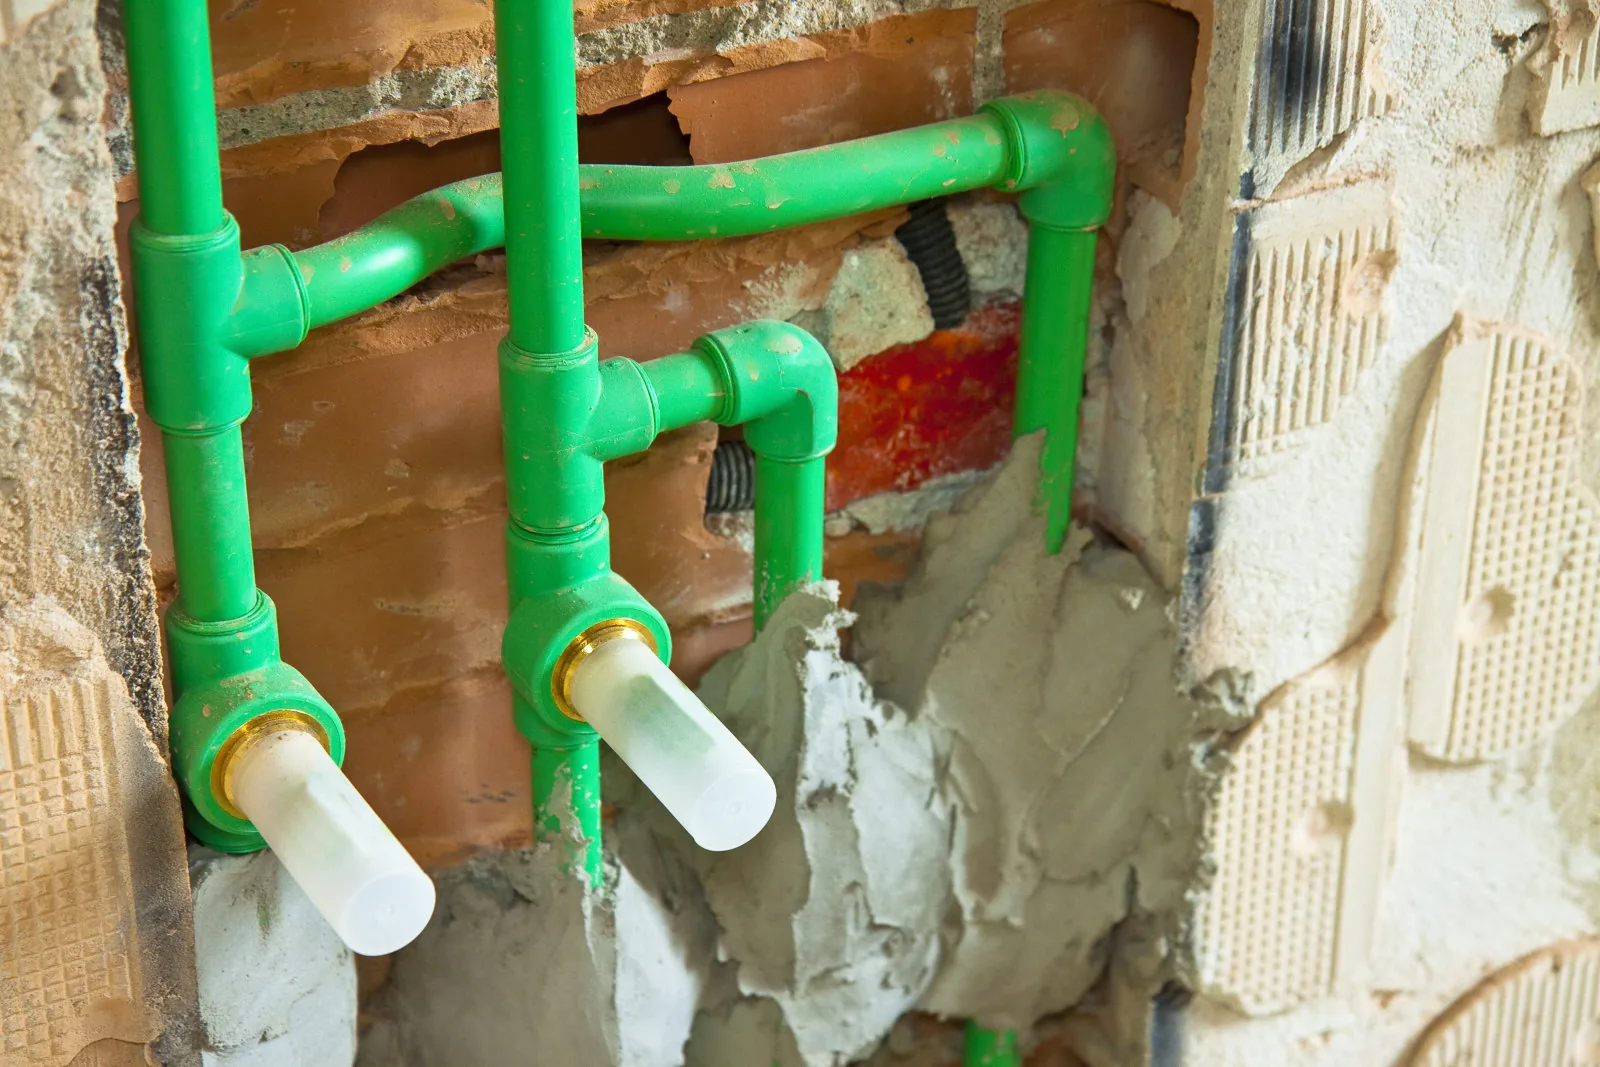
Why there is no PPR slip coupling
A PVC slip coupling works because PVC is chemically welded. It telescopes shut, you brush solvent cement on both surfaces and slide it over the gap, and the cement softens both plastics until they fuse. Critically, the joint needs no axial travel from the pipe — which is why it is the default answer for a repair in a fixed line.
Polypropylene resists that chemistry. No solvent will safely dissolve and re-knit PP-R in situ, so the material is joined by heat. A socket fusion joint melts the outside of the pipe and the inside of the fitting at 260 °C, then pushes them together so the two melt layers become one wall. Good joints are stronger than the pipe. But the method demands what a slip coupling never does: room to push the pipe into the fitting.
You will still find vendors selling universal mechanical slip repair couplers listed as compatible with PE, PEX, HDPE, PP, PP-R and copper. That category genuinely exists — but treat the compatibility as a vendor claim, and check the coupler’s own approval body and its pressure and temperature rating against the line you are repairing. A coupler rated for cold-water mains is not automatically fit for a hot circuit at 70 °C. Be equally wary of trade-blog pages selling push-fit “PPR quick repair couplings” as permanent 50-year fixes: those claims carry no standard reference and no test basis.
Fusion surfaces must be dust-free, oil-free and dry. That single requirement, not the fitting design, is what forces a shutdown on most PPR repairs.
Step 1: Isolate the smallest zone, not the riser
Because you cannot fuse a wet pipe end, the honest version of “repairing without draining the building” is this: drain as little of the building as the valve layout allows, and keep everyone else in water. In a residential block that usually means one apartment’s branch rather than the whole riser. The first move on site is not cutting — it is walking the line and finding the nearest upstream isolation point.
Work outward in this order: fixture stop, then the apartment or floor branch valve, then the zone valve on the riser, then the riser itself. Each step up costs you more occupants. On a hot circuit the return leg also needs isolating, or the damaged section keeps filling from the far side while you stand there with a heater.
Then drain and dry properly. Open the lowest fixture in the isolated zone plus a high point to break the vacuum. A horizontal branch in screed or a ceiling void holds water in its low spots long after the taps stop running, and that residual film inside the cut end is the classic cause of a joint that looks perfect and weeps a week later. Compressed air or a shop vacuum clears it faster than waiting.
A building with no branch isolation is where a repair turns into a project. For anyone specifying a system rather than fixing one, that is the argument for more valves at build time — a branch ball valve costs trivially little next to draining thirty apartments once. Our PPR valve and manifold range exists largely because zoned systems fail more gracefully than unzoned ones.
Step 2: Check the pipe can be fused at all
Before planning any cut, confirm the existing pipe is legally and physically weldable. ISO 15874-2 is unambiguous at clause 6.2.2: pipes intended to be joined together by fusion shall have a minimum wall thickness of 2,0 mm. That is a hard floor, not a recommendation. A thin-wall pipe below it must be repaired mechanically or by electrofusion rather than socket fused.
This bites most often at 20 mm. In dimension class A, a 20 mm S5 pipe has a 1,9 mm wall — under the fusion floor — while S4 at the same diameter is 2,3 mm and fine. So two pipes with identical outside diameters, indistinguishable at a glance in a wall chase, can have different answers. Read the print line on the pipe before you cut. If the print is painted over or worn off, measure the wall at the cut face with a caliper.
Matching the replacement piece matters just as much. Outside diameter alone tells you nothing about pressure class: at 32 mm, the wall runs from 2,9 mm at S5 to 6,5 mm at S2. Drop an S5 piece into an S2 heating circuit and the OD will fit the fitting perfectly while the repaired section becomes the weakest link in the line. Match the series and the application class, not just the size. Our PPR pipe sizes chart and the PN20 versus PN25 breakdown cover how the series maps to pressure rating.
One trap worth naming: the S8 and S6,3 series in ISO 15874-2 Table 5 are marked valid only for PP-RCT, the raised-temperature grade. Do not read those columns when you are working on plain PP-R.
| Nominal OD | S5 | S4 | S3,2 | S2,5 / S2 |
|---|---|---|---|---|
| 20 mm | 1,9 (below fusion floor) | 2,3 | 2,8 | 3,4 / 4,1 |
| 25 mm | 2,3 | 2,8 | 3,5 | 4,2 / 5,1 |
| 32 mm | 2,9 | 3,6 | 4,4 | 5,4 / 6,5 |
| 50 mm | 4,6 | 5,6 | 6,9 | 8,3 / 10,1 |
| 63 mm | 5,8 | 7,1 | 8,6 | 10,5 / 12,7 |
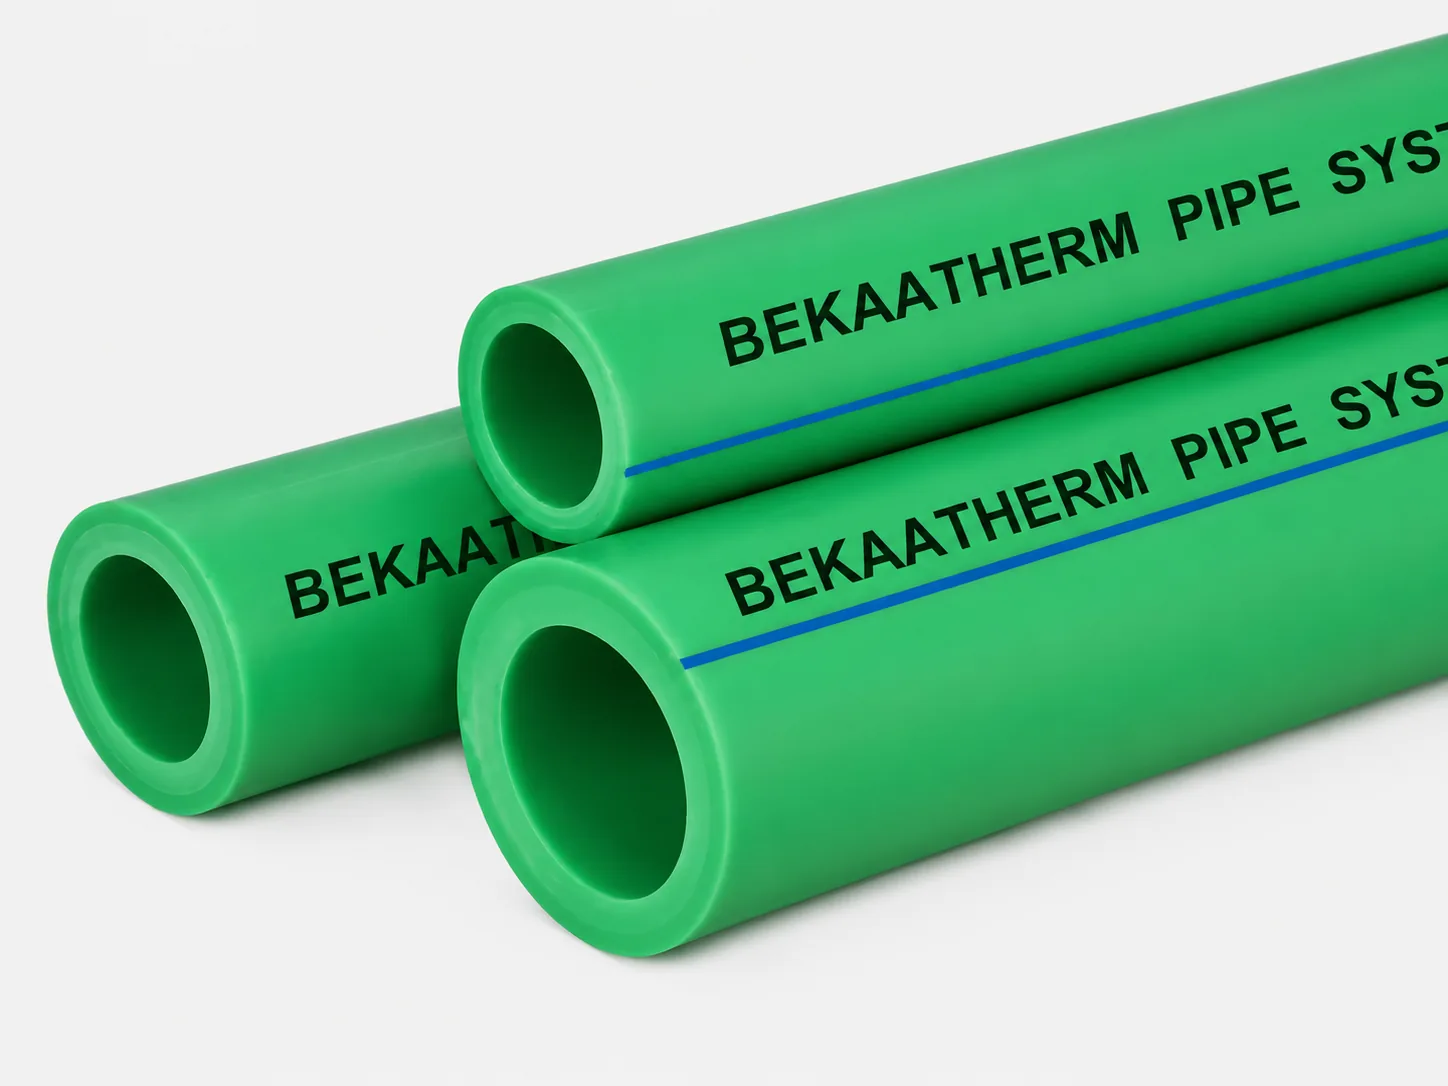
Step 3: The cut-and-piece socket fusion repair
Inside an isolated, dried zone, the standard repair is to cut out the damage and fuse in a new piece with two couplings. The geometry is what people get wrong, because a socket fusion joint consumes pipe. Each end disappears into the fitting by a fixed welding depth: 14,0 mm at 20 mm OD, 15,0 mm at 25 mm, 16,5 mm at 32 mm, 24,0 mm at 63 mm.
So the replacement piece is not the length of the gap. It is the gap plus the welding depth at both ends, minus the small stand-off between the couplings. On a 32 mm line with a 300 mm section cut out, the new piece runs roughly 300 + 16,5 + 16,5 = 333 mm before deducting coupling face separation. Cut long and trim — a piece 3 mm short bottoms out before reaching the mark, and the joint fails at the shoulder.
The honest problem with this method in a fixed line: to fuse the second coupling, one side must move axially by the full welding depth, and buried or clipped pipe often will not. Use a union or switch to electrofusion. Do not force it — pipe bent into alignment during cooling gives a stressed joint that fails months later.
The sequence that actually holds
- Cut square. Cut at right angles to the pipe axis and leave the surface free of burrs and cutting debris. Deformed pipe ends get cut off, not squeezed round.
- Mark the welding depth. Mark it on the pipe end before heating. This is your only visual check against over-insertion once the plastic is soft.
- Verify the heater temperature. 260 °C, checked with a fast-indicating surface thermometer or a temperature pencil before the first weld — not by trusting the tool’s indicator lamp.
- Start timing at full depth. Heating time begins when pipe and fitting are pushed to the correct depth on the welding tool, not when they first touch it.
- Join, align, then stop touching it. The joint stays flexible only for the welding time — 4 s up to 25 mm, 6 s at 32–50 mm, 8 s at 63–90 mm. Correct alignment inside that window. Never rotate pipe or fitting afterwards.
- Let it cool untouched. 2 minutes up to 25 mm, 4 minutes at 32–50 mm, 6 minutes at 63 mm, 8 minutes from 75 mm up.
Two failure modes are worth knowing before they happen. Heating too briefly gives improper bonding: the joint may pass a pressure test, then separate under thermal cycling. Heating too long, or pushing past the marked depth, forces a bead of melt inward and restricts the bore — in extreme cases closing the pipe off. If a repaired branch holds pressure but delivers poor flow, that internal bead is almost always why, and no external inspection will show it.
Fusion parameters by diameter
These are the DVS-referenced socket fusion figures at 260 °C. The cold-weather column is the one most repair guides omit, and the one that matters at 6 a.m. in an unheated riser shaft. Below +5 °C, heating times run roughly 50 percent longer — 36 s instead of 24 s at 63 mm. Guessing on a cold morning is how a crew produces a whole run of cold joints in one visit.
| Pipe OD | Welding depth | Heating time | Heating below +5 °C | Cooling time |
|---|---|---|---|---|
| 16 mm | 13,0 mm | 5 s | 8 s | 2 min |
| 20 mm | 14,0 mm | 5 s | 8 s | 2 min |
| 25 mm | 15,0 mm | 7 s | 11 s | 2 min |
| 32 mm | 16,5 mm | 8 s | 12 s | 4 min |
| 40 mm | 18,0 mm | 12 s | 18 s | 4 min |
| 50 mm | 20,0 mm | 18 s | 27 s | 4 min |
| 63 mm | 24,0 mm | 24 s | 36 s | 6 min |
| 75 mm | 26,0 mm | 30 s | 45 s | 8 min |
| 90 mm | 29,0 mm | 40 s | 60 s | 8 min |
| 110 mm | 32,5 mm | 50 s | 75 s | 8 min |
| 125 mm | 40,0 mm | 60 s | 90 s | 8 min |
You can build a realistic time estimate from this table rather than guessing. A two-joint repair on a 32 mm line is 8 s of heat and 6 s of joining per coupling, plus a 4-minute cooling window each — under ten minutes of actual fusion work. Everything else in the visit is access, isolation, drying and testing. Published fusion tables differ slightly at 75, 90 and 110 mm; the column above follows the DVS figures in the Aquatherm manual, and mixing two tables mid-job is a good way to under-heat a large joint.
Ambient temperature has bounds too. DVS 2207 puts the acceptable range for the parts being fused at roughly +5 °C to 40 °C. Uneven heating from direct sun on one side of a pipe, or fittings pulled straight from an uncontrolled store, are named defect causes — shade the work and let cold fittings equalise. For the fusion process step by step, see our guide on how to weld PPR pipe by heat fusion.
When to use an electrofusion coupler instead
An electrofusion coupler carries a resistance wire in its bore. You slide it over the prepared pipe ends, clamp, and pass current through it so the fitting melts itself into the pipe from the inside. Sockets are supplied from 20 mm through 160 mm, which covers essentially every branch and riser size in a building.
For repair work its advantage is geometric, not thermal. The fitting is movable at both pipe ends after assembly, so it needs no axial insertion travel and no rotation — precisely the constraint in a wall chase, a ceiling void, or anywhere the pipe is clipped on both sides of the damage. Where socket fusion demands you shove the pipe 24 mm into a coupling, electrofusion asks only that you slide a sleeve along it. If you stock one method for emergency work in occupied buildings, make it this one: the higher fitting cost buys jobs socket fusion cannot complete.
The discipline is in surface preparation, and it is time-bounded. Peel the oxidised outer layer from the fusion zone, then start fusion within 30 minutes of peeling and assemble the fitting within 30 minutes of opening its protective foil. Do not touch the peeled surface, and keep it clear of dirt and grease. Axial grooves or scratches through the fusion zone are not acceptable — they give trapped air a path along the joint. The air gap must be even all the way around, and both parts dry.
On a job waiting for a drain-down, that 30-minute clock is a real scheduling constraint: peel when the pipe is ready to weld, not while you are still chasing a stuck valve two floors up. After fusion, do not move the joint or release the clamps before cooling is complete. Minimum cooling time is marked on each socket, so read the fitting rather than a generic table, and allow longer above 25 °C or in strong sun. Unpressurised pipes need at least 20 minutes before any tension, bending or torsion.
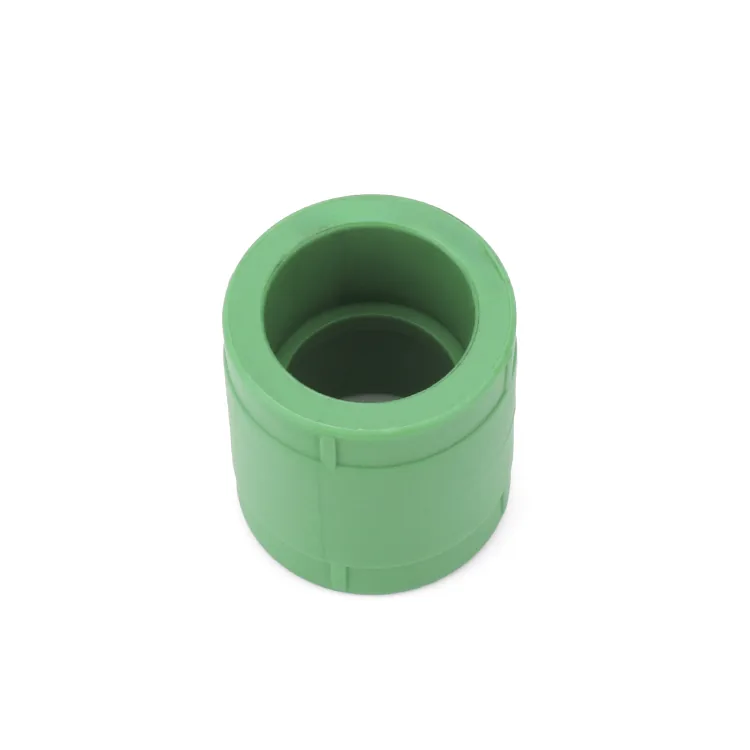
Weld-in saddles and hot tapping: the real no-shutdown routes
Two techniques come closest to the promise in the search query, and both are branch-connection methods rather than break repairs.
Weld-in saddles
A weld-in saddle fuses onto the outside of an existing pipe and gives you an outlet without cutting a section out. Manufacturers list them for branch connections in existing installations, substituting a tee, and adding branches in risers. The procedure is short: drill the pipe wall at the outlet point, heat pipe and saddle at 260 °C for generally 30 seconds, press the saddle on for about 15 seconds, then allow 10 minutes cooling before full working pressure. Welding surfaces must be clean and dry.
The honest limit is diameter. Saddles are available for 40, 50, 63, 75, 90, 110, 125 and 160 mm pipe, so a 20 or 25 mm branch cannot take one — which rules the technique out for most apartment-level work and puts it in the riser and plant-room category. The line still has to be dry at the drill point, so this saves the cut-out, not the isolation.
Hot tapping a live PP-R line
Hot tapping is the one method that genuinely adds a branch with no shutdown. A polypropylene hot tap tool seals the system, drills through the pipe wall, and retracts the cut-out pipe pieces, leaving a fusion-welded outlet fitting and a ball valve in place. The manufacturer describes it as eliminating system downtime and minimising service disruptions, and covers branch lines from 1 in to 2 in nominal, roughly 32 to 63 mm.
Set expectations properly. It is a proprietary tool requiring additional training and specific hot-tap fitting assemblies, so it belongs to specialist contractors rather than a general maintenance crew, and Bekaatherm does not supply one. It also adds a branch — it does not repair a split. If a hospital wing or data centre cannot lose water and the job is a new connection, this is the route to price out. For a burst pipe, you are still isolating.
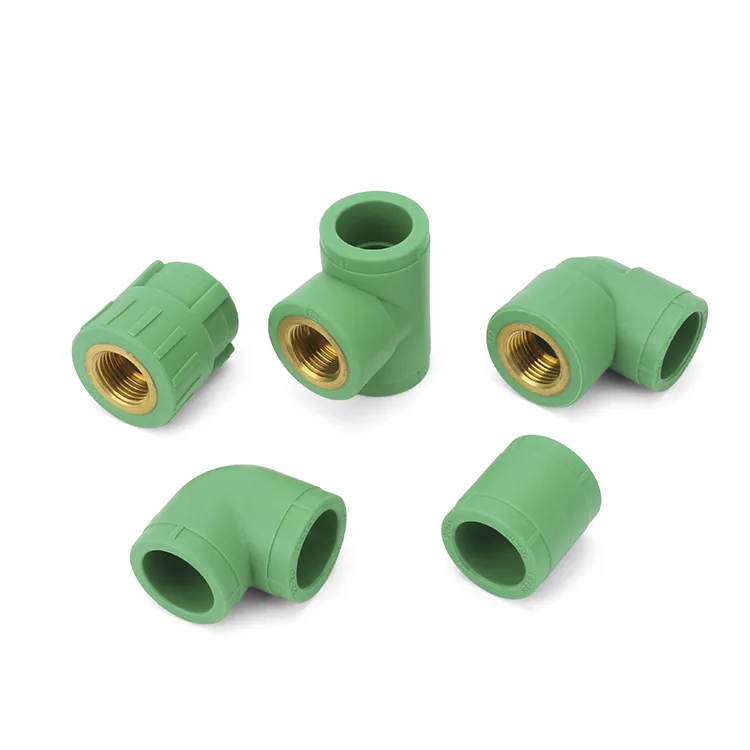
Best for / not for: picking your method
Four routes, and the choice is driven almost entirely by two questions: how much can you isolate, and can the pipe move axially?
Socket fusion cut-and-piece
Best for: accessible pipe with free ends, exposed plant-room and riser work, any repair where you can pull one side back by the welding depth. It is the cheapest per joint, needs only a heater and shears, and produces a joint as strong as the pipe. Not for: pipe clipped or buried on both sides of the damage, walls with under 2,0 mm thickness, or repairs where the line cannot be dried.
Electrofusion coupler
Best for: fixed pipe with no axial travel, tight chases and ceiling voids, 20–160 mm, and crews who want a repeatable joint with less operator judgement in it. Not for: wet pipe ends, sites without reliable power for the control unit, or jobs where nobody can wait out the marked cooling time before repressurising.
Weld-in saddle
Best for: adding or replacing a branch on 40–160 mm pipe without cutting out a section, especially substituting a tee in a riser. Not for: 20–32 mm branch lines, which have no saddle available, and not for repairing a longitudinal split.
Mechanical coupler
Best for: a genuine emergency where the line cannot be dried, a temporary hold until a planned shutdown, or a transition between PP-R and another material. ISO 15874-3 does cover mechanical fittings, so a compliant mechanical joint is a legitimate permanent option when the fitting itself is approved for the duty. Not for: treating an unverified push-fit coupler as a permanent fix on a hot circuit. Check the coupler’s own approval and its pressure and temperature rating first — requirements vary by market, so confirm acceptance with the relevant water authority or approvals body before you commit it to a potable system.
Pressure testing and recommissioning the repair
Test the repaired section while it is still exposed. EN 806-4 requires pressure testing of drinking water pipework with filtered water after installation is complete but before it is concealed, and the practical reading of that for a repair is simple: do not plaster or close the ceiling until the joint has held. Connect the gauge at the lowest point of the section under test.
On test pressure, be careful with numbers you find online. Many quoted figures are a specific fitting manufacturer’s own procedure rather than a general requirement. The portable version is to test at 1,1 times the maximum design pressure of the installation, as Water Regs UK states in restating BS EN 806. Anything more specific should come from your local water authority’s procedure, because acceptance criteria differ by market and by system type.
Two conditions catch people out. Gauges indicating a pressure difference of 0,1 bar may be used, so a cheap dial with 1 bar graduations proves nothing. And where the temperature difference between test water and pipework exceeds 10 K, allow time for equalisation before reading — a plastic system filled with cold water in a warm riser shows a pressure drop that is thermal, not a leak. On a freshly fused joint, wait out the cooling time first; on electrofusion, follow the time printed on the socket.
Then flush and recommission promptly. Drinking water installations should be flushed as soon as possible after pressure testing and immediately before commissioning. A repaired branch left full, isolated and stagnant for a fortnight is a hygiene problem you created while fixing a leak — if the zone will not be used straight away, drain it rather than leaving it charged.
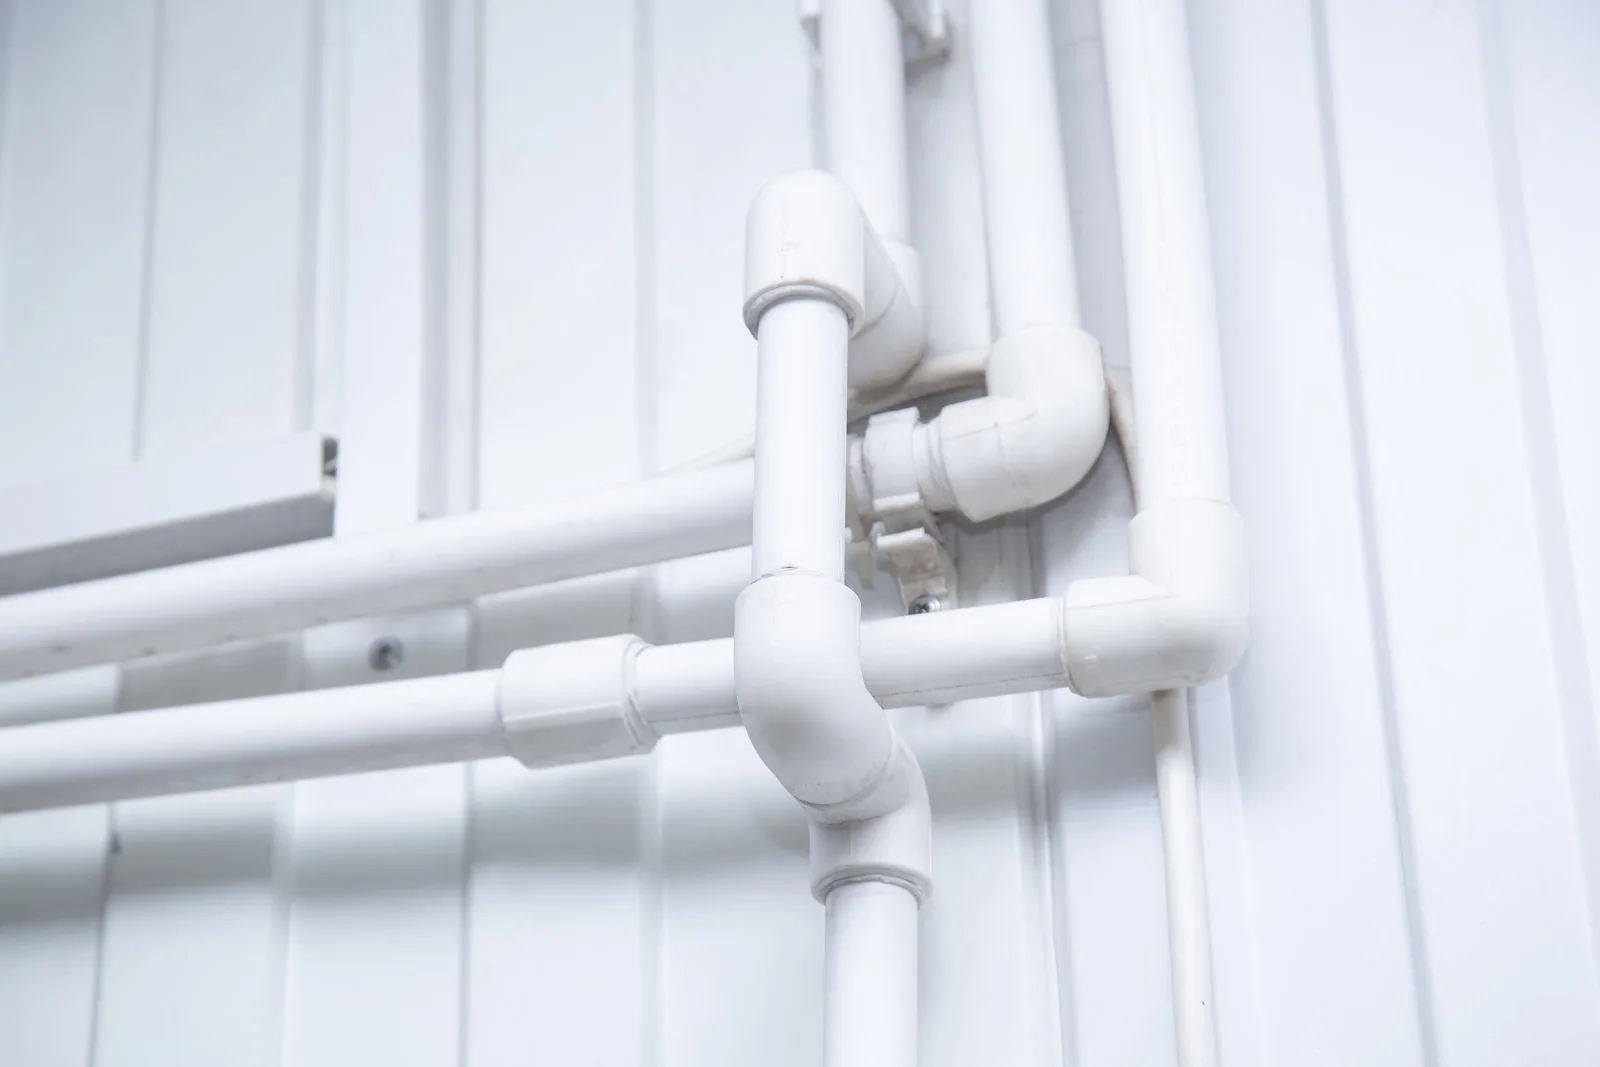
What we check before shipping repair fittings
A repair coupling has one job: seat to the marked welding depth on a pipe that is at the top of its diameter tolerance. In dimension class A, ISO 15874-2 allows a mean outside diameter from 20 to 20,3 mm at 20 mm nominal, and 63 to 63,6 mm at 63 mm. A fitting moulded for the low end of that band will bind on a pipe at the high end, and the installer discovers it with a heated pipe in one hand and a five-second window.
So the checks that matter for repair stock are dimensional and repeatable across batches. In-line dimensional control on the extrusion side keeps pipe within the class A envelope. On fittings, socket geometry and depth are verified against the same standard the pipe is made to, because the fitting and pipe are only ever as compatible as their shared tolerance band. Certification covers the system as a whole rather than a single sample — Bekaatherm holds SKZ (Germany), ISO 15874, CE and WRAS approvals, with the full set listed on our certifications page.
One boundary to be straight about, because distributors have to explain it to their own customers. Bekaatherm’s 50-year warranty covers material and manufacturing defects, matched to the 50-year design life at rated pressure and 20 °C under ISO 15874. It does not cover an installer’s bad weld. A joint that was under-heated, over-inserted or moved during cooling failed for a reason that no manufacturer warranty reaches, which is exactly why the parameter tables above are worth laminating and putting in the van.
Stocking the repair kit before you need it
Emergency repairs are decided by what is already on the van. A crew that drives back for a 32 mm coupling turns a two-hour job into a half-day, and the building stays dry either way — just for longer.
A working repair kit is narrower than a full catalogue. Plain socket couplings in every size you install, since each cut-and-piece repair needs two. Electrofusion sockets in your three commonest branch diameters, for the fixed-pipe jobs socket fusion cannot reach. Unions where a section may come out again. Reducers, because the pipe in a 1990s riser is not always the pipe on the drawing. And short offcuts in each series you stock — noting that a 20 mm S5 offcut is useless for a fused repair, given the 2,0 mm floor.
For distributors building that stock, the commercial terms are worth planning around. Bekaatherm’s range covers 98 items across 4 systems, MOQ for a single size is 500 kg per size and colour, and regular in-production sizes ship in 15–25 days. A first order can also go as one 20GP mixed container of pipe, fittings and valves, which is usually the sensible way to cover a repair assortment without committing 500 kg to every individual coupling size.
One end-to-end example. A facilities contractor gets a call about a 32 mm S3,2 hot branch leaking in a ceiling void above an occupied office, clipped both sides. They isolate the floor branch and its return, drain through the lowest fixture, vacuum the standing water from the cut ends. The wall measures 4,4 mm — comfortably above the 2,0 mm fusion floor, and matching S3,2 pipe is on the van. But the pipe is clipped, so there is no 16,5 mm of axial travel for a second socket-fusion joint. They cut out 250 mm, prep both ends, and use two electrofusion sockets, starting fusion within 30 minutes of peeling. Cooling runs to the time printed on the socket. They test the section at 1,1 × MDP with the gauge at the low point, wait for temperature equalisation before reading, flush, and hand the floor back the same morning. The rest of the building never lost water.
Conclusion
The phrase “pipe repair coupling” sets the wrong expectation for PPR. There is no coupling that slips over a wet break, so the quality of a PPR repair is decided before any fitting comes out of the box — by how tightly you isolate, whether the wall clears the 2,0 mm fusion floor, and whether the pipe can move enough for socket fusion or needs an electrofusion sleeve instead. Get those three right and the joint outlasts the pipe around it.
If you are specifying stock rather than standing in a ceiling void, the useful next step is checking that your coupling and socket sizes actually span the pipe series your market installs. You can review the dimensional data across the PPR fittings range or compare current terms on the price list page.
Frequently Asked Questions
Is there a slip coupling for PPR pipe like the ones used on PVC?
No. PVC slip couplings rely on solvent welding, and PP-R cannot be solvent welded at all. A PPR repair is made by socket fusion, electrofusion, or an approved mechanical fitting — the three routes ISO 15874-3 covers.
Can I fuse a PPR pipe that is still wet inside?
No. Fusion surfaces must be dust-free, oil-free and dry, for both socket fusion and electrofusion. Drain the isolated zone, open a high point to break the vacuum, and clear standing water from the cut ends before heating anything.
How long should the replacement piece be?
The gap plus the welding depth at each end, minus the stand-off between coupling faces. Welding depth is 14,0 mm at 20 mm OD, 16,5 mm at 32 mm and 24,0 mm at 63 mm. Cut long and trim down.
Why does my repaired joint hold pressure but deliver poor flow?
Almost always internal bore restriction. Over-heating the joint or pushing the pipe past the marked welding depth forces a bead of melt inward, and in extreme cases it can close the pipe off. The joint has to be cut out and remade.
What changes when I have to work in a cold plant room?
Below +5 °C, socket fusion heating times rise by roughly half: 8 s instead of 5 s at 20 mm, 36 s instead of 24 s at 63 mm. DVS 2207 puts the acceptable range for the parts being fused at about +5 °C to 40 °C.
Can a weld-in saddle be used on a 25 mm branch line?
No. Weld-in saddles are made for pipe outer diameters of 40, 50, 63, 75, 90, 110, 125 and 160 mm. On 20 or 25 mm branches you cut in a tee instead, which means isolating and draining that branch.
At what pressure should I test the repaired section?
Test at 1,1 times the maximum design pressure, with the gauge at the lowest point and the section still exposed. Acceptance criteria vary by market, so confirm the exact procedure with your local water authority.
Does the 50-year warranty cover a failed repair joint?
It covers material and manufacturing defects, matched to the 50-year design life at rated pressure and 20 °C under ISO 15874. A joint that failed from under-heating, over-insertion or movement during cooling is an installation fault, not a product defect.