
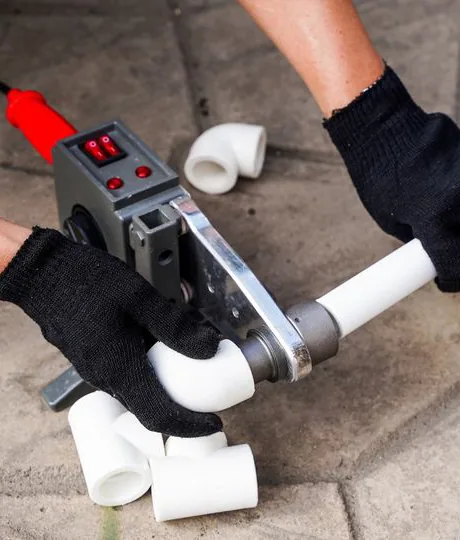
PPR heat fusion is the single step where a plumbing or heating job is made, or where it quietly fails. Get the temperature and timing right and the joint is as strong as the pipe itself; get it wrong and you have a hidden leak that shows up on the first pressure test, or worse, after the wall is closed. This guide walks through the whole cycle: what heat fusion is, the machine and tools you need, the six steps, a fusion time and temperature chart by pipe size, how to weld each PPR construction (plain, fiberglass and aluminium-composite), cold-weather adjustments, pressure testing, and the mistakes that make PPR welds leak. It is written for the people who actually carry the risk on site, installers, project buyers and the traders who supply them.
Everything here is method, not marketing. The parameters below are typical socket-fusion guide values; the discipline that turns them into a leak-free joint, a square cut, a clean surface, an unhurried hold, and pipe with a consistent wall, is what separates a system that passes on the first test from one that gets torn out. If you supply PPR to a market where installers are trained on solvent-weld PVC or on push-fit, this page is also the explainer you can forward so your customers weld it correctly the first time.
What Heat Fusion Actually Is, and Why It Doesn’t Leak
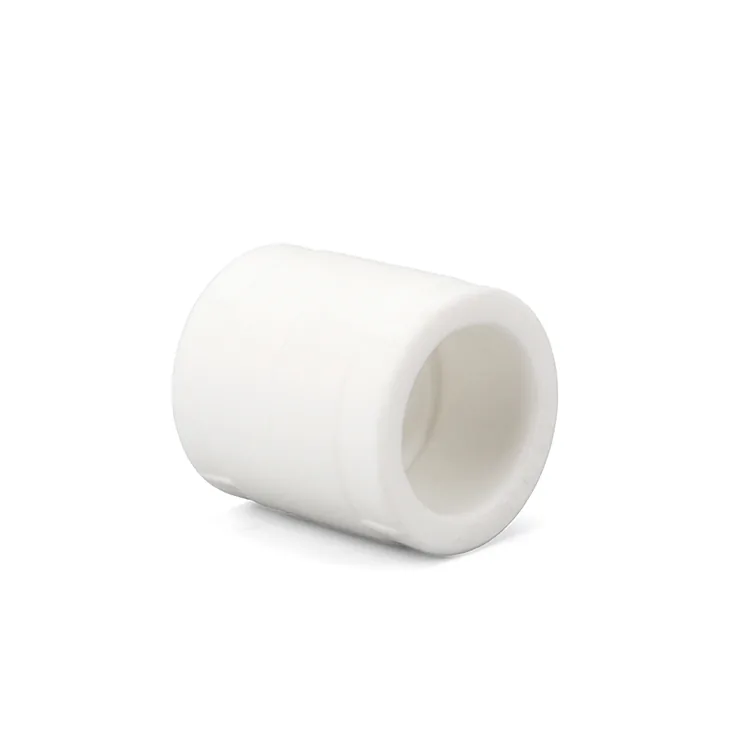
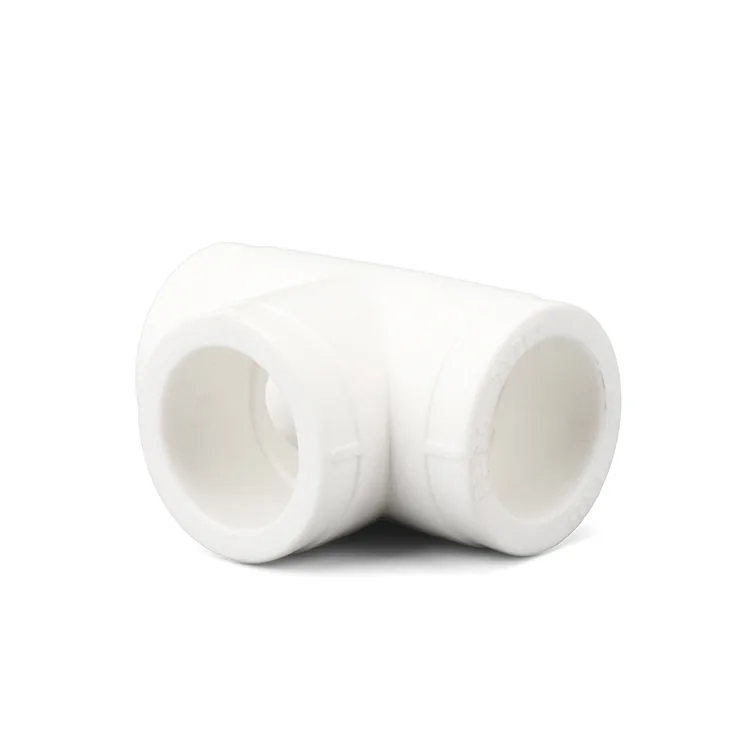
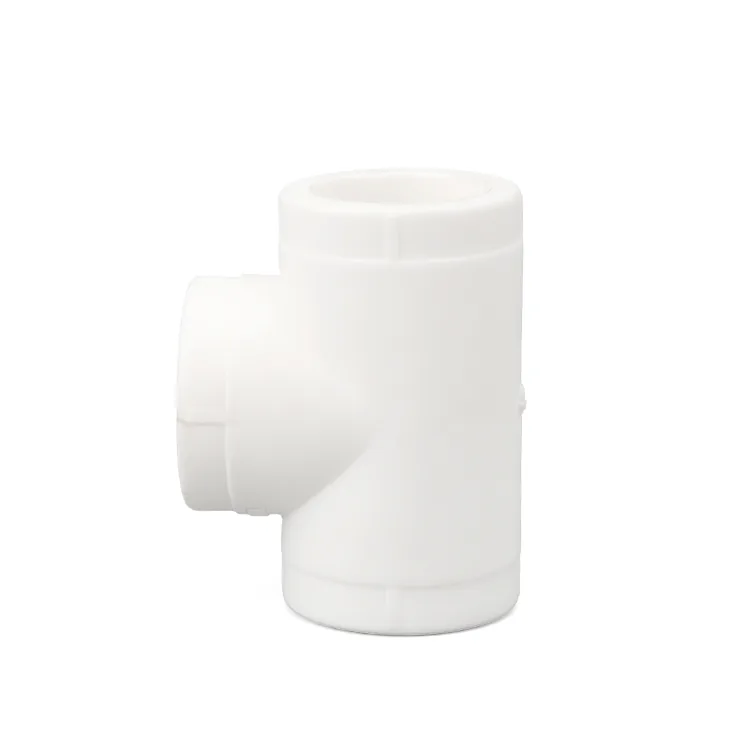
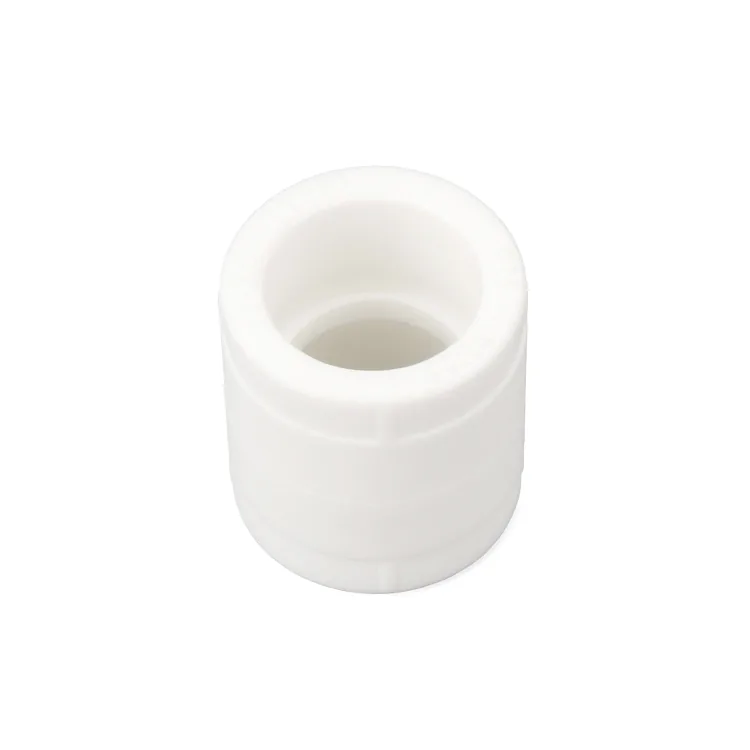
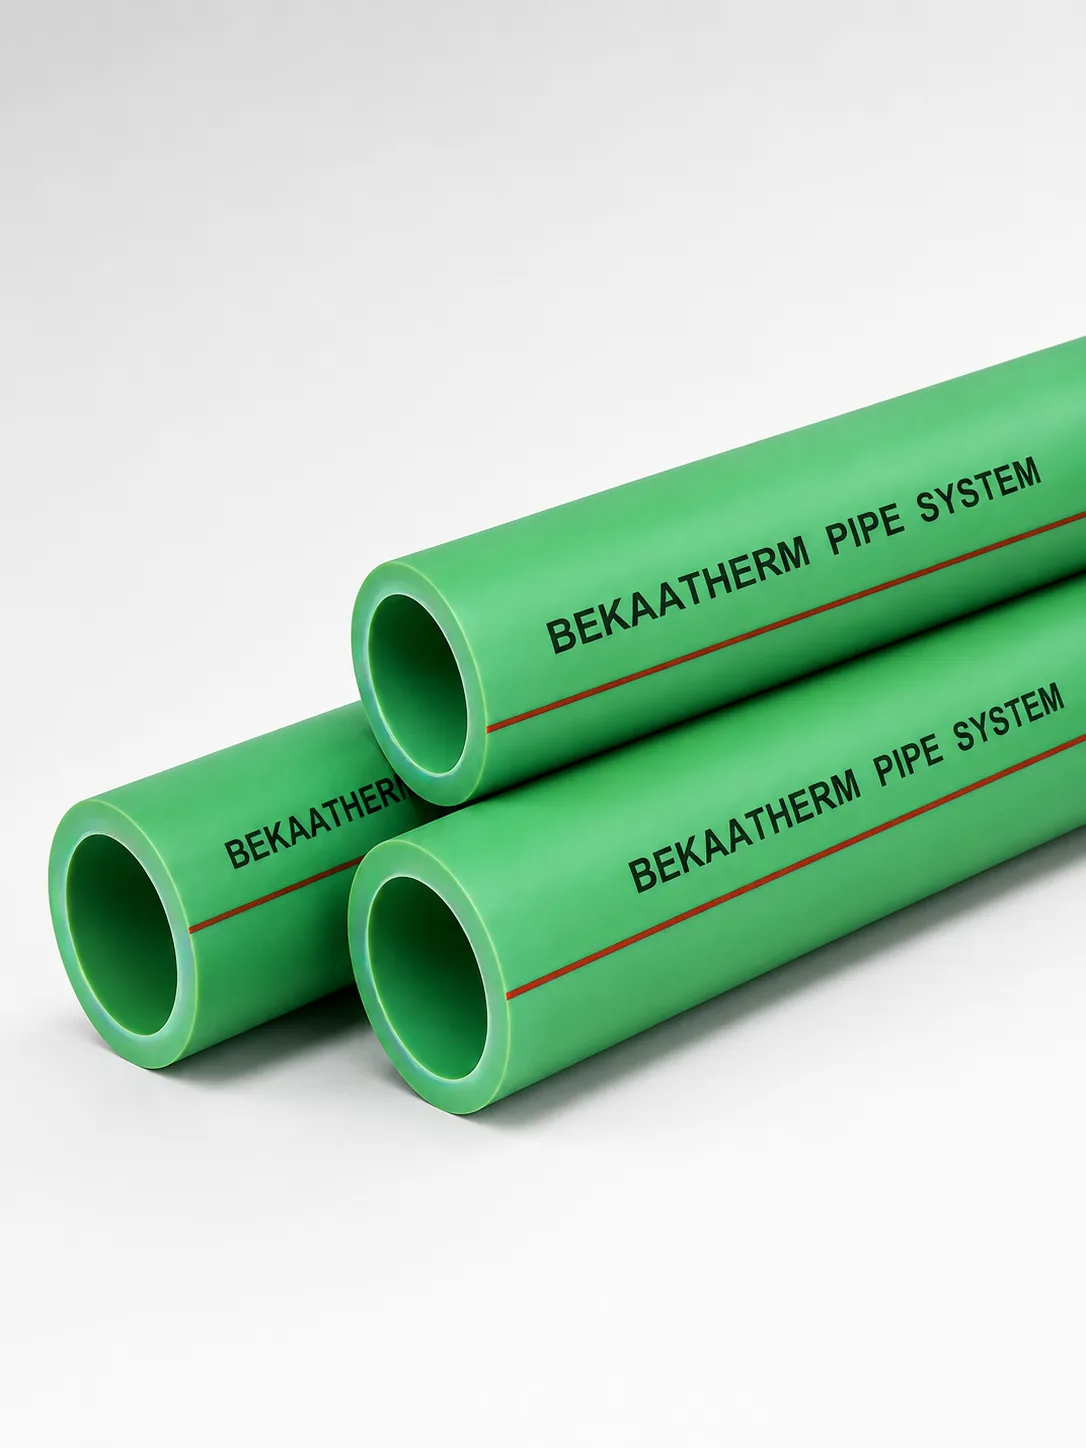
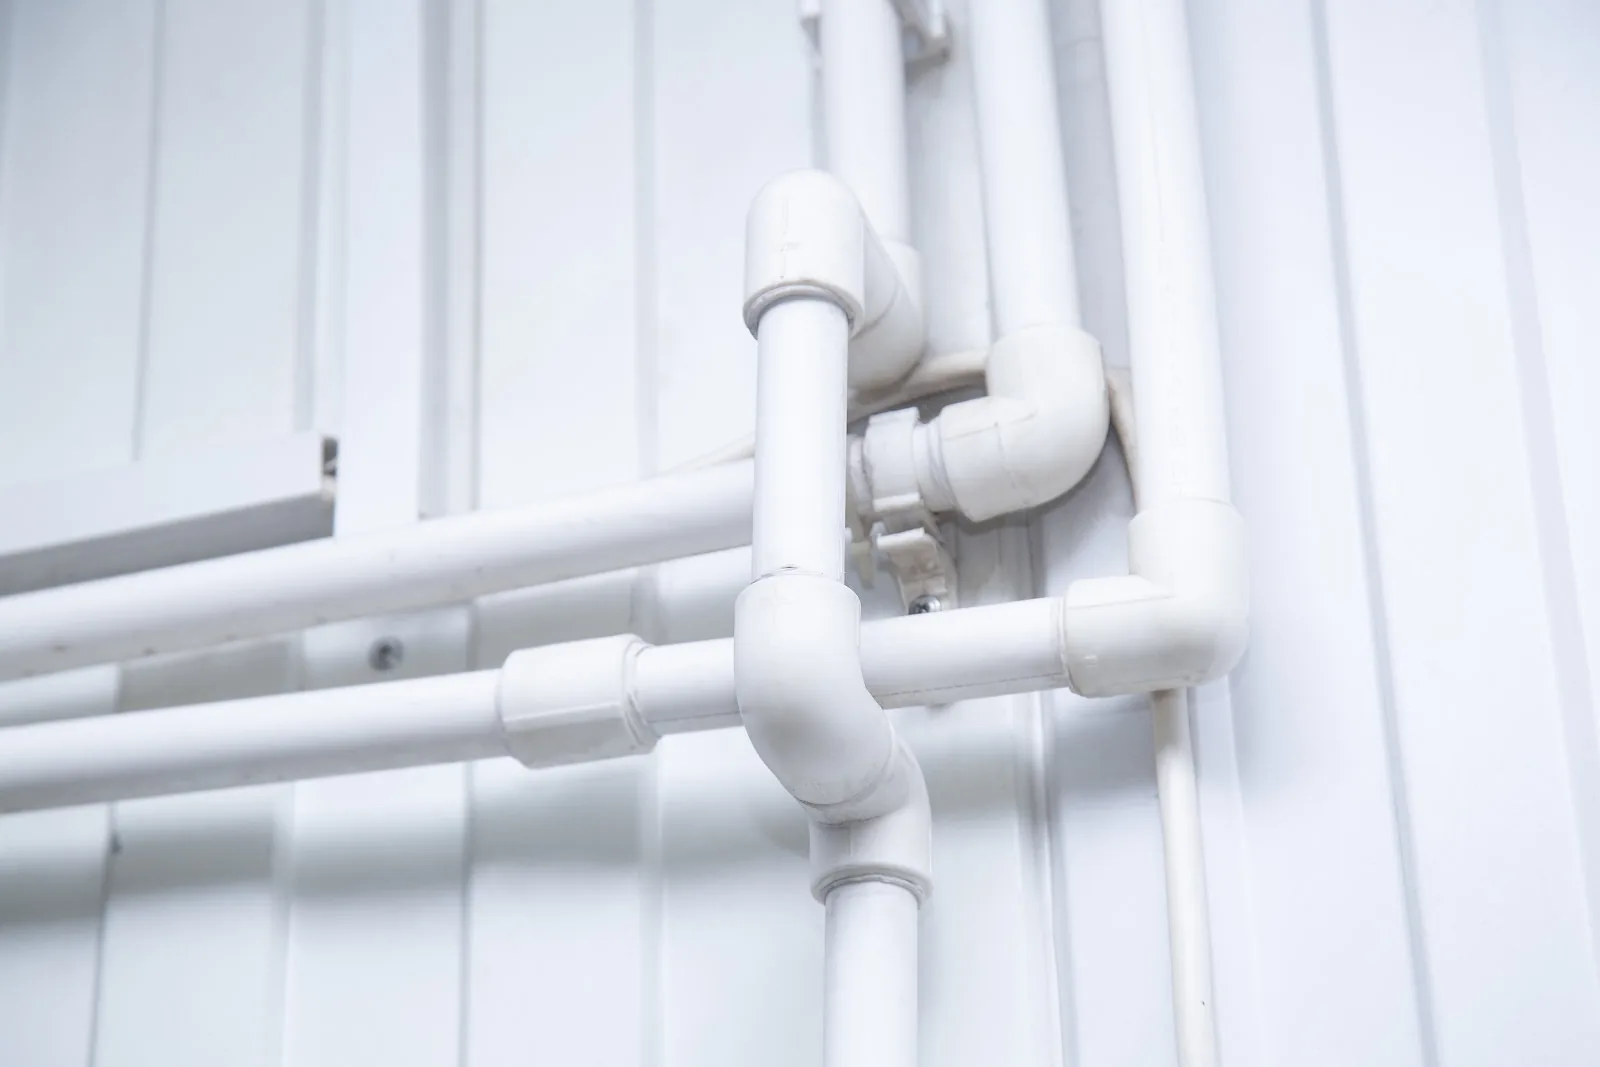
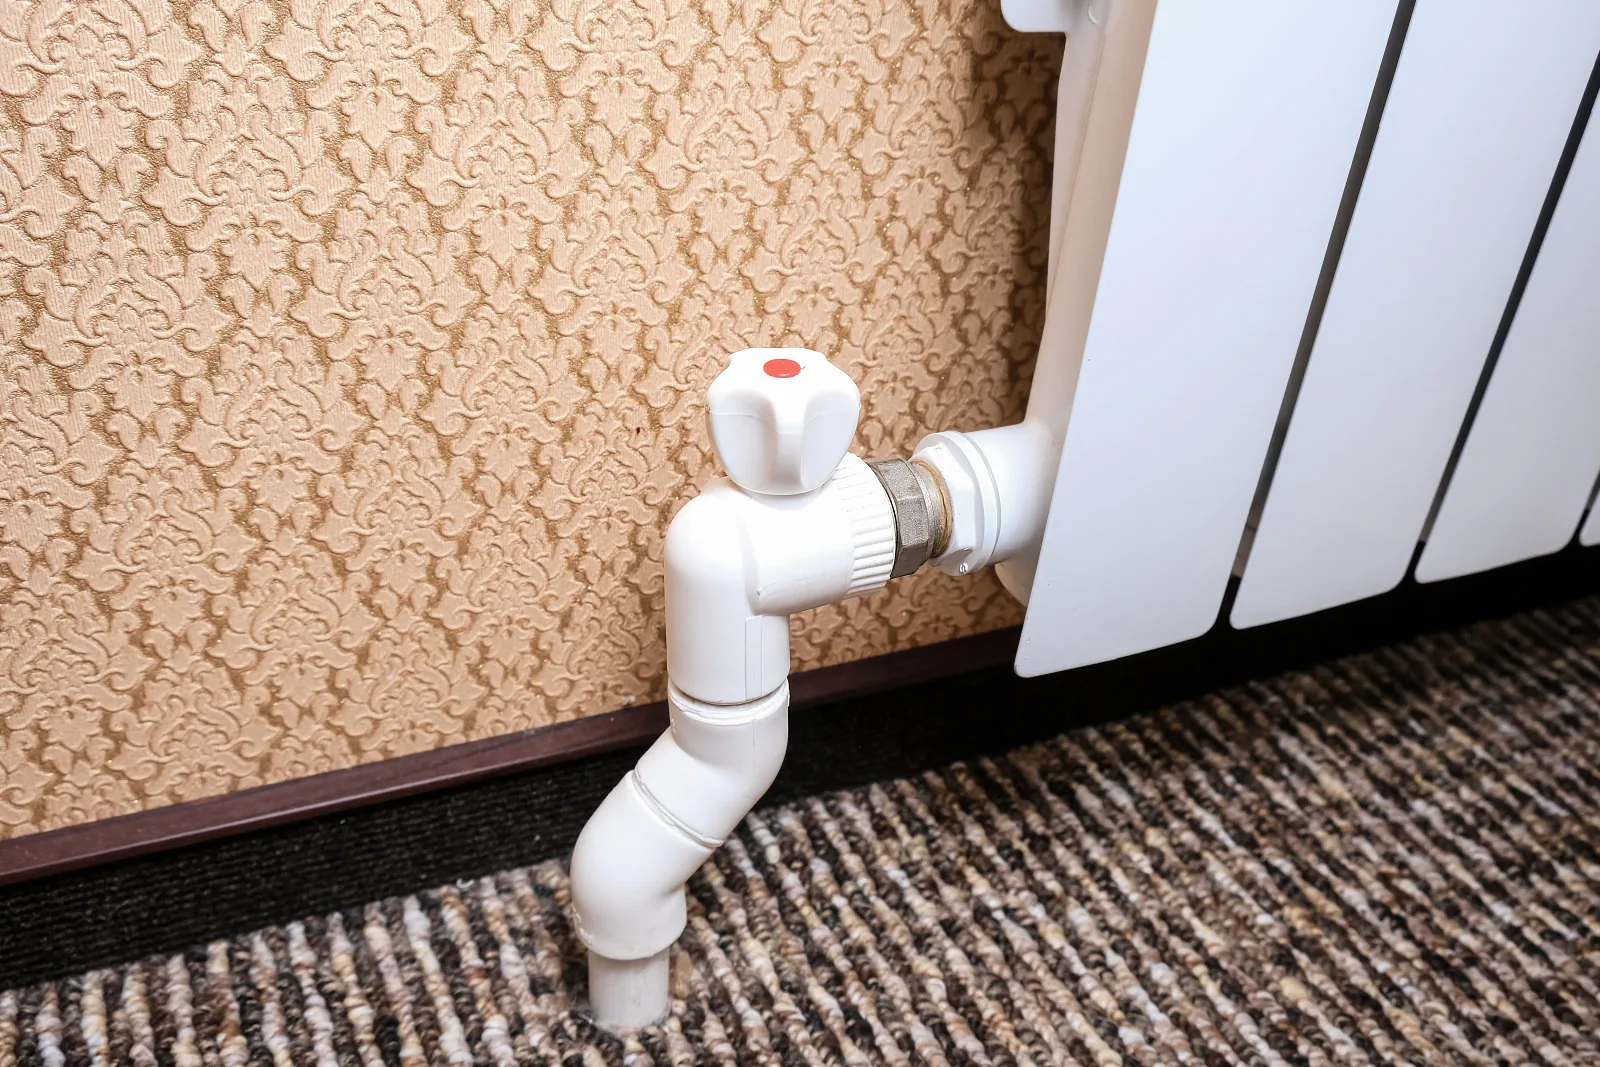
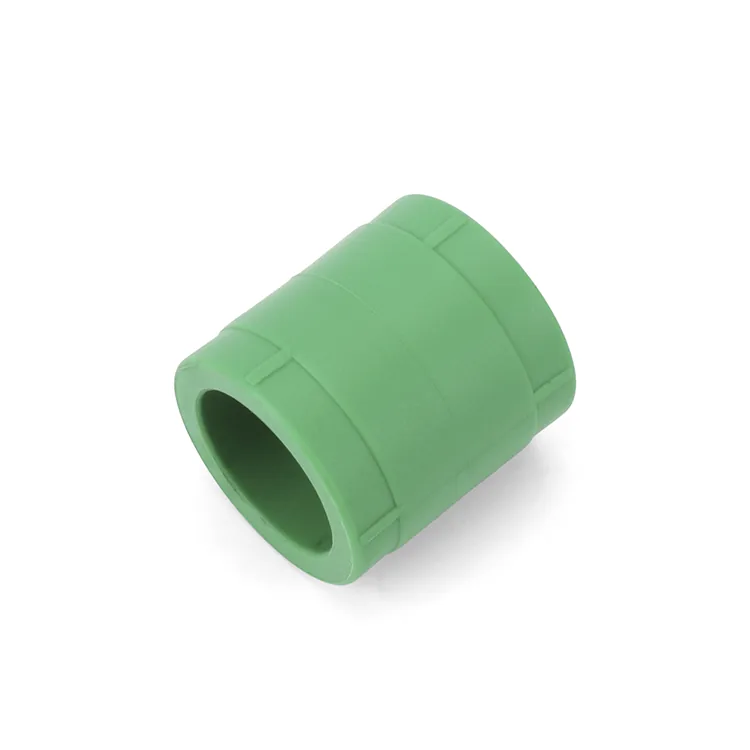
PPR (polypropylene random copolymer) is not glued or threaded, it is heat-fused. A socket-fusion welder heats the outside of the pipe end and the inside of the fitting socket at the same time until both surfaces are molten. Pushed together and cooled, the two melt zones fuse into one homogeneous mass with no seam, no adhesive, and nothing to corrode. Done correctly, the joint is as strong as the pipe wall, which is exactly why PPR is trusted for hot and cold potable water, radiator and underfloor heating, air-conditioning lines, and pressure systems that must run leak-free for a 30-year service life.
Socket (hot-melt) fusion is the method for the 20–63 mm range that covers almost all building plumbing and heating. It is the same physics regardless of PPR construction: plain PPR, fiberglass-composite and aluminium-composite pipe all fuse at the same ~260 °C plate temperature, because the fusion happens in the polypropylene layer at the pipe surface. The reinforcing layer sits inside the wall and does not change the weld, it changes only expansion behaviour and stiffness. Above 63 mm, or on outdoor HDPE mains, the joining method changes entirely to butt fusion or electrofusion, which are separate procedures.
| Joining method | How it seals | Typical range | Weak point |
|---|---|---|---|
| PPR socket (heat) fusion | Both surfaces melt and fuse into one material | 20–63 mm | Only fails if temperature / time is wrong |
| Butt fusion | Pipe ends melted flat and pressed together | Larger diameters | Needs a machine and trained operator |
| Electrofusion | Embedded coil melts the interface electrically | HDPE mains | Fitting cost; power & alignment |
| Solvent-weld (PVC) | Chemical glue softens & bonds surfaces | PVC only | Depends on cure time & correct primer |
| Push-fit / threaded | O-ring or thread seal | Mixed | Mechanical seal can loosen or dry out |
This is the practical difference between a fusion system and the copper, PEX or PVC alternatives many buyers know: there is no glue to cure, no O-ring to perish, and no thread to work loose. The reliability lives entirely in doing the weld correctly, and that is fully controllable. For a plumber trained on PVC solvent cement, the mental switch is simple: you are not waiting for a chemical to grip; you are melting two surfaces and letting them cool as one.
See our PPR pipe range (PN20 / PN25, 20–63 mm)
What You Need to Weld PPR Pipe
Heat fusion needs one core machine and a few simple tools. For diameters from 20 to 63 mm a hand-held socket-fusion (hot-melt) welder with the matching heating dies covers almost all PPR plumbing and heating work; larger mains use butt-fusion or electrofusion instead. Bekaatherm supplies the welding machine, cutter and PTFE tape alongside the pipe and fittings, so an installer or a trader can stock the whole kit from one factory.
- PPR hot-melt welding machine, heats to ~260 °C and comes with paired male/female dies. Choose a wattage rated for your largest diameter; a plate that cannot recover heat between welds under-fuses on a busy run.
- Heating dies (20–63 mm), one pair per pipe size, PTFE-coated so molten PPR releases cleanly without carbon build-up. Carbon on a die is the quiet cause of under-fusion.
- Pipe cutter, a ratchet or scissor cutter for a square, burr-free cut; sawing leaves debris and an angled face that weakens the weld.
- Marker & tape, to mark socket-insertion depth on every pipe end so you seat to the right depth every time.
- Clean, dry cloth, wipe pipe and fitting before fusion; dust, oil, or water ruins the bond.
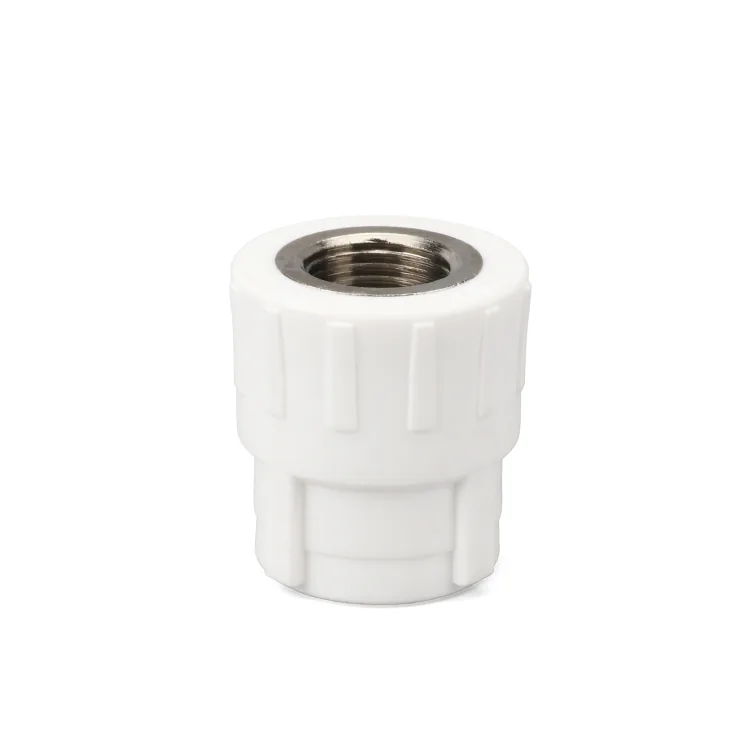
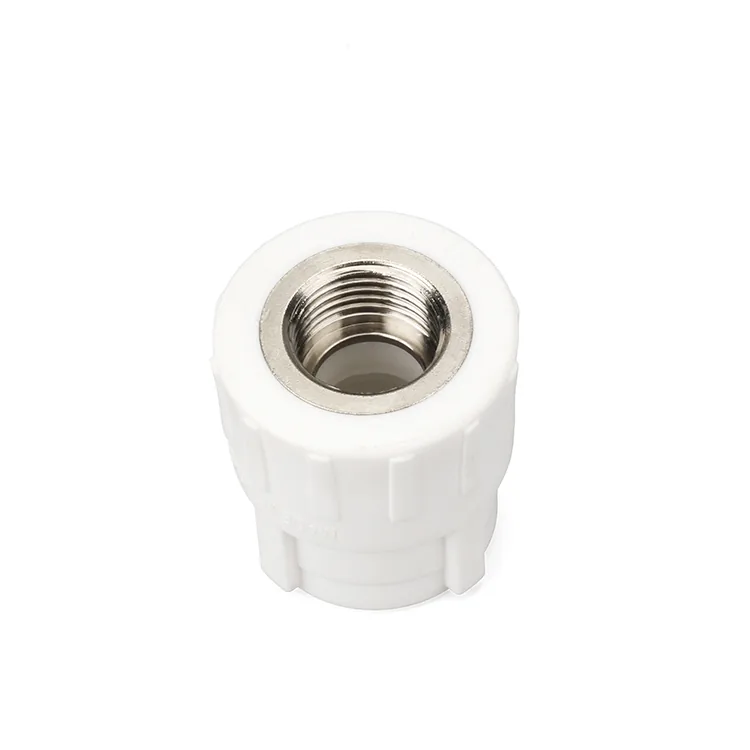
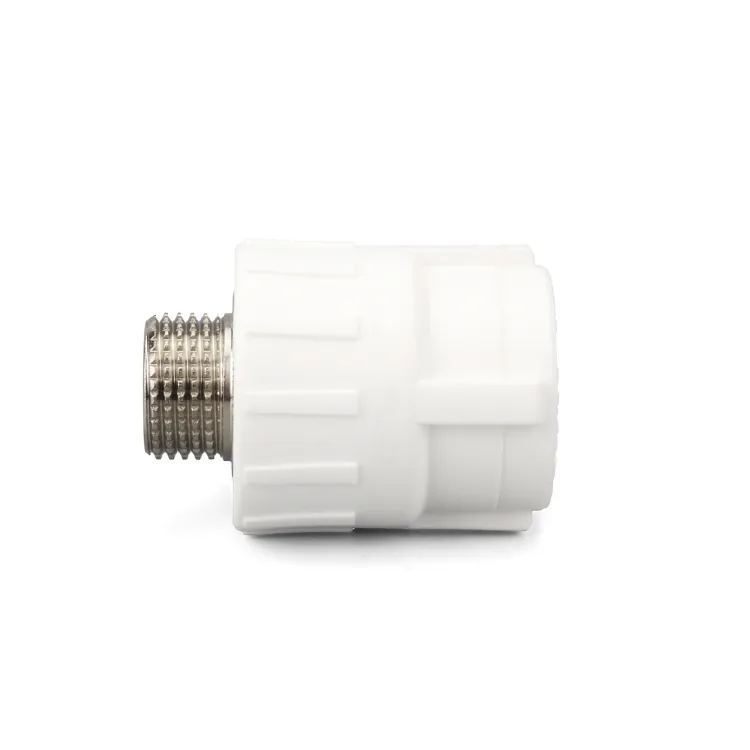
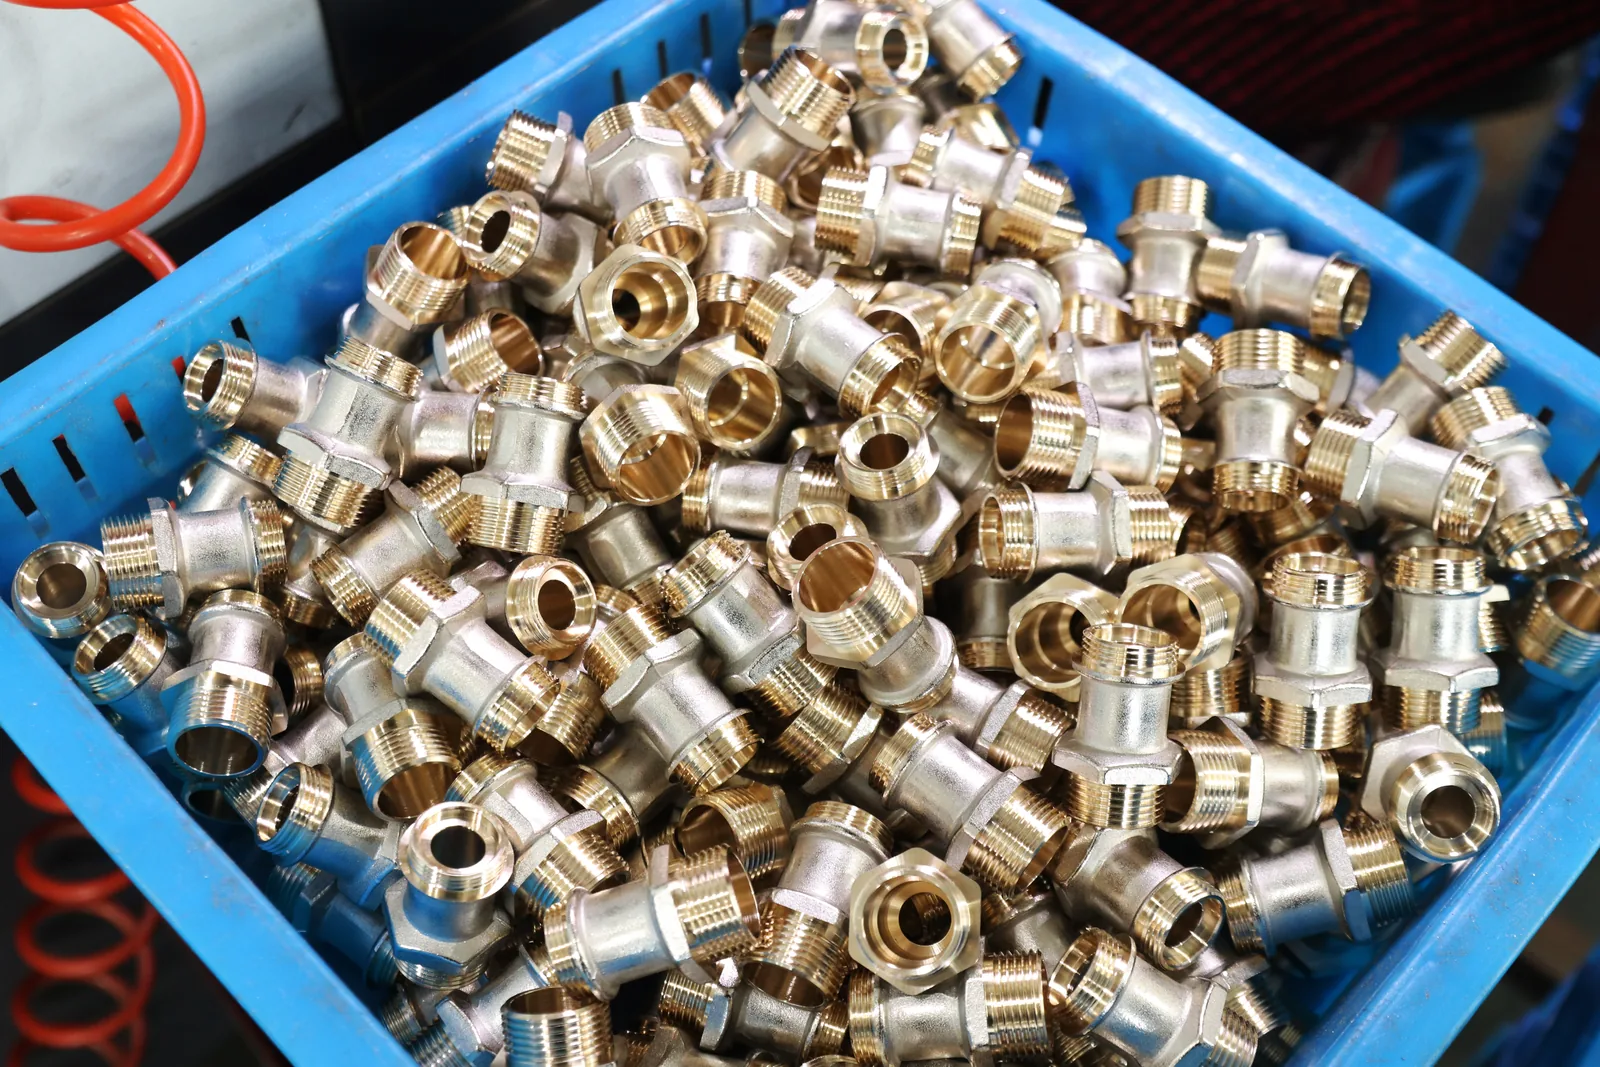
- PTFE thread tape, for the metal-thread transitions (male/female sockets, unions, valve heads) where the plastic system meets a brass or steel connection.
The core welding kit is a defined set of catalogue items, not a vague shopping list. Here are the tooling references we ship with the PPR system:
| Tool | Code | Range / spec | Role in the weld |
|---|---|---|---|
| PPR Hot Melt Welding Machine | BK-222 | 20–63 mm dies | Heats pipe & fitting to fusion temp |
| Pipe Cutter | BK-221 | 20–32 mm | Square, burr-free cut |
| PTFE Tape | BK-220 | 15 m roll | Sealing threaded transitions |
Need a matched welding machine, pipe & fittings from one factory? Get a quote
How to Heat-Fuse a PPR Joint in 6 Steps
The whole cycle takes seconds per joint, but every step matters, most leaks trace back to a skipped or rushed step here. This is the how-to behind a joint that passes pressure testing first time.
- Cut & clean. Cut the pipe square with a pipe cutter, deburr, and wipe the pipe end and fitting socket clean and dry. On aluminium-composite pipe, remove the outer PPR skin and the aluminium layer at the pipe end with a shaver/reamer if your system requires it, so only the fusible inner layer meets the die.
- Mark the depth. Measure the fitting socket depth and mark it on the pipe so you insert to exactly the right depth, no more (which pushes a bead into the bore), no less (which leaves a short, weak weld).
- Heat the machine. Fit the correct-size dies, power on, and wait until the welder reaches ~260 °C working temperature. Do not weld while the plate is still climbing to temperature.
- Heat both parts. Push the pipe into the female die and the fitting onto the male die at the same time. Hold, without twisting, for the heating time for that diameter (see the chart below).
- Join. Remove both parts and push the pipe straight into the fitting to the depth mark, without rotating. A small, even bead of melt should form around the mouth, that is the sign of a full weld, not a defect. Hold for the fusion time.
- Cool. Keep the joint still and unstressed for the full cooling time before you handle, bend, or pressure-test it. This is the step most often cut short on a fast job, and the one that causes the most hidden leaks.
Get PPR fittings that fuse cleanly, batch after batch
PPR Welding Time & Temperature, by Pipe Diameter
Heat fusion is only reliable when the time matches the diameter. A 20 mm pipe fuses in a few seconds; a 63 mm pipe needs noticeably longer to heat all the way through. Weld temperature stays constant at about 260 °C, it is the timing that changes. Use the chart below as a guide, then confirm against the fusion chart for your specific PPR series and welder.
| Pipe OD | Weld temp | Heating time (approx.) | Fusion (join) time | Cooling time (approx.) |
|---|---|---|---|---|
| 20 mm | ~260 °C | ~5 s | ~4 s | ~2 min |
| 25 mm | ~260 °C | ~7 s | ~4 s | ~2 min |
| 32 mm | ~260 °C | ~8 s | ~6 s | ~4 min |
| 40 mm | ~260 °C | ~12 s | ~6 s | ~4 min |
| 50 mm | ~260 °C | ~18 s | ~8 s | ~5 min |
| 63 mm | ~260 °C | ~24 s | ~8 s | ~6 min |
These are typical socket-fusion guide values. Always weld to the fusion chart supplied for your specific pipe series and welder, pipe wall (PN20 vs PN25), fiberglass or aluminium-composite layers, and ambient temperature all shift the timing. Below ~5 °C, extend heating time.
Two numbers deserve a plumber’s attention. First, the heating time is the most-abused figure on the chart, cut it and you get a cold false weld; overrun it and you carbonise the surface and squeeze a bead into the bore. Second, the cooling time is not optional slack: it is the window in which the melt re-solidifies into one solid. A 63 mm joint that is bent or loaded before its ~6 minutes are up will hold water at low pressure and fail later, which is the worst possible failure mode because the wall is already closed.
Ask which PN rating fits your project
Match the Weld to the Pipe You Are Fusing
The chart above sets the timing by diameter, but the pipe construction and its wall thickness also matter, a thicker PN25 wall holds more material to melt through than a PN20 wall of the same OD. Below is the real wall-thickness map for the Bekaatherm PPR range, so an installer can see at a glance why a PN25 or a composite pipe of the same size may want the upper end of the heating window.
| OD | PPR plain PN20 | PPR plain PN25 | PPR-AL-PPR PN20 | PPR-AL-PPR PN25 | Fiberglass PN20 | Fiberglass PN25 |
|---|---|---|---|---|---|---|
| 20 mm | 20×2.8 | 20×3.4 | 20×3.1 | 20×3.4 | 20×2.8 | 20×3.4 |
| 25 mm | 25×3.5 | 25×4.2 | 25×3.3 | 25×4.2 | 25×3.5 | 25×4.2 |
| 32 mm | 32×4.4 | 32×5.4 | 32×4.1 | 32×5.4 | 32×4.4 | 32×5.4 |
| 40 mm | 40×5.5 | 40×6.7 | 40×5.0 | 40×6.7 | 40×5.5 | 40×6.7 |
| 50 mm | 50×6.9 | 50×8.4 | 50×5.5 | 50×8.4 | 50×6.9 | 50×8.4 |
| 63 mm | 63×8.6 | 63×10.5 | 63×7.0 | 63×10.5 | 63×8.6 | 63×10.5 |
Values are OD × wall thickness in mm. A few weld-relevant takeaways for each construction:
- Plain PPR (PN20 / PN25), the simplest fuse. PN25 walls are thicker, so lean to the upper end of the heating window on larger sizes and give the joint its full cooling time.
- Fiberglass composite, fuses exactly like plain PPR (same PPR outer skin), but the middle glass layer cuts thermal expansion, so long hot-water runs move less. No special die is needed.
- PPR-AL-PPR (aluminium composite), the aluminium barrier layer must be shaved/reamed back at the pipe end before fusion if your system specifies it, so only fusible PPR meets the die. This is the one construction where an extra prep step is non-negotiable.
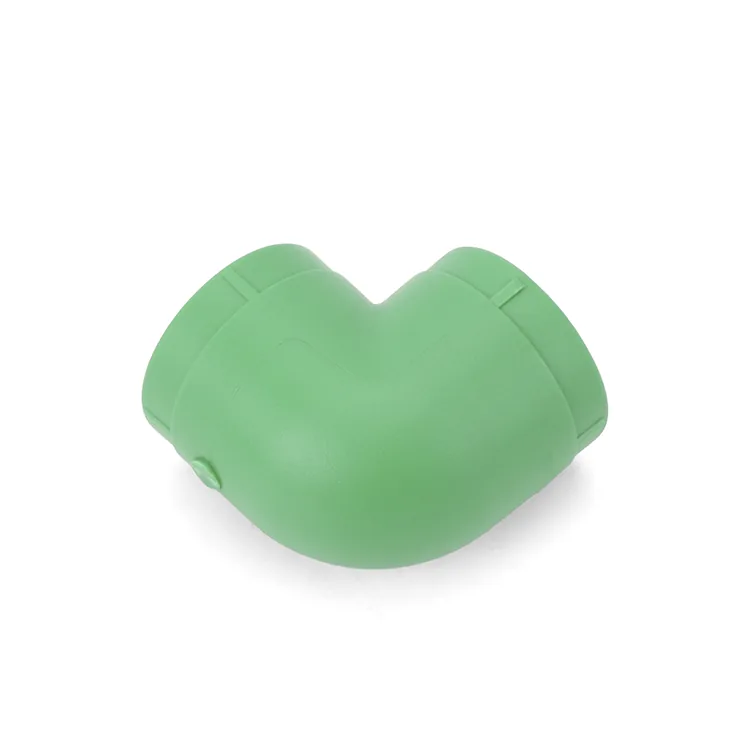
All three are offered in green, white and coffee colour series across the full 20–63 mm range, and all carry the same PN pressure logic: PN20 = 20 bar at 20 °C, PN25 = 25 bar. Choosing the pipe is a pressure-and-temperature decision; welding it is the same discipline for every line.
Not sure which PN to weld? Read PN20 vs PN25
Cold Weather, Metal Transitions & Pressure Testing
Three field situations trip up otherwise-clean welds, and all three are on the installer, not the pipe.
Cold weather. PPR does not like being fused cold. Below about 5 °C the pipe and fitting draw heat out of the melt zone faster, so extend the heating time and let the machine fully recover to temperature between welds. On winter sites, keep pipe and fittings indoors until just before use rather than pulling them off a frozen pallet.
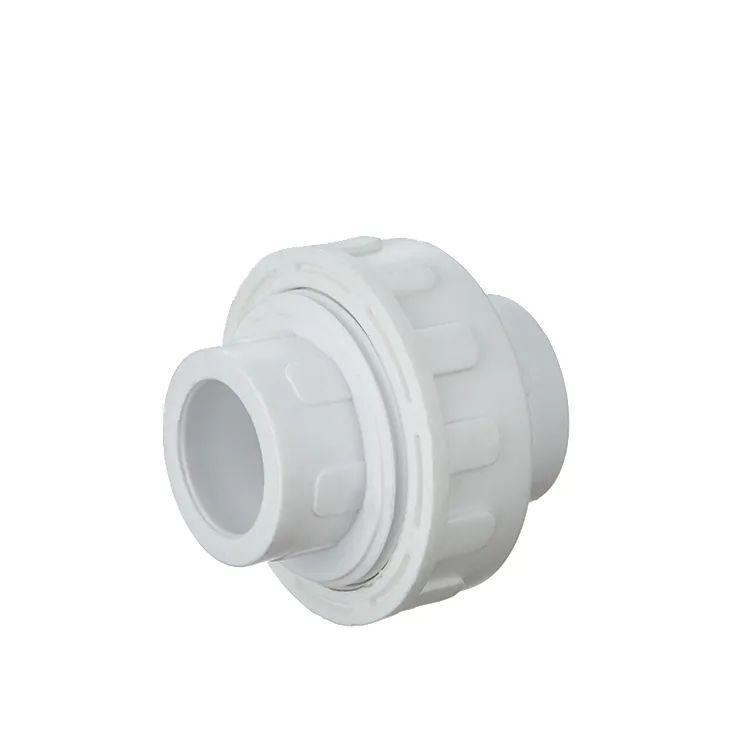
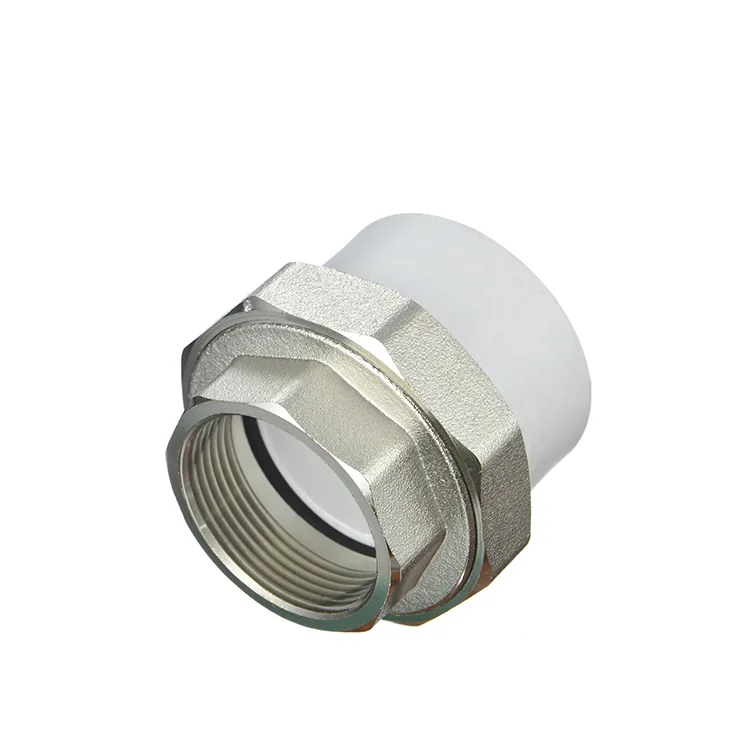
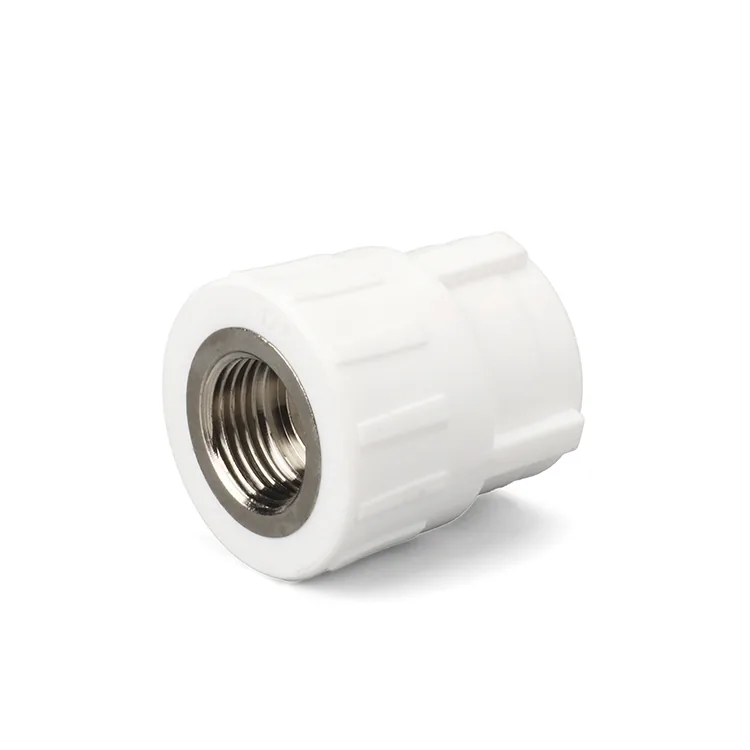
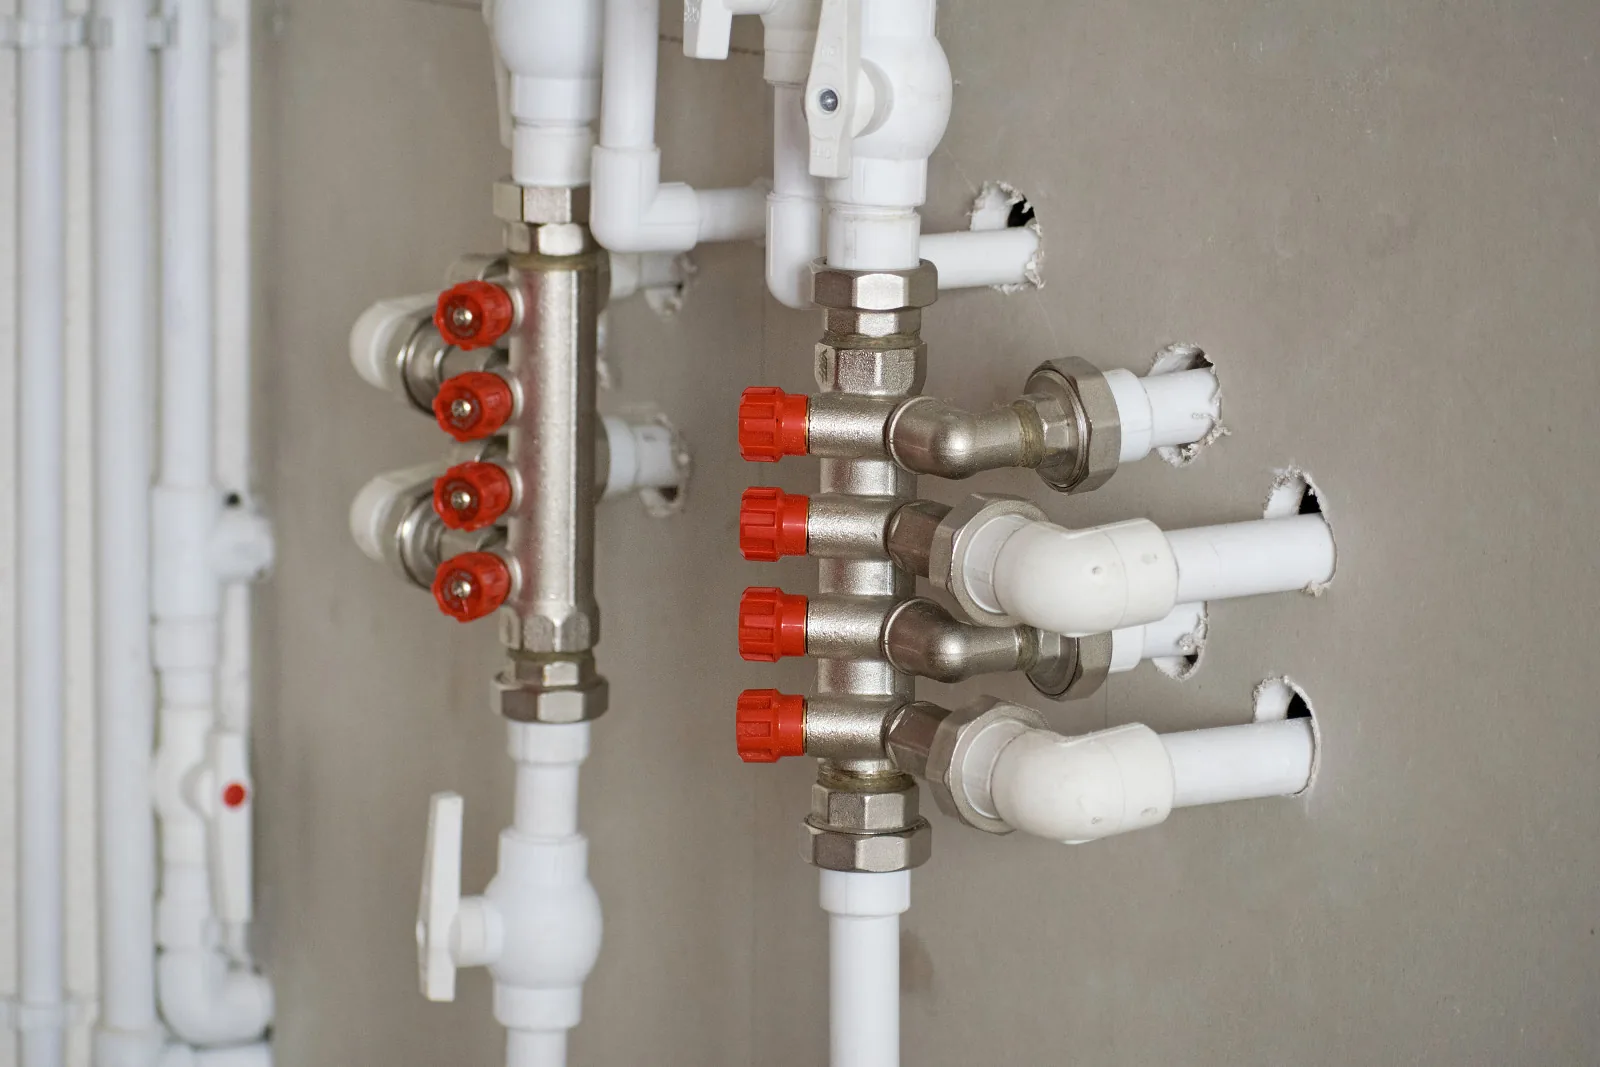
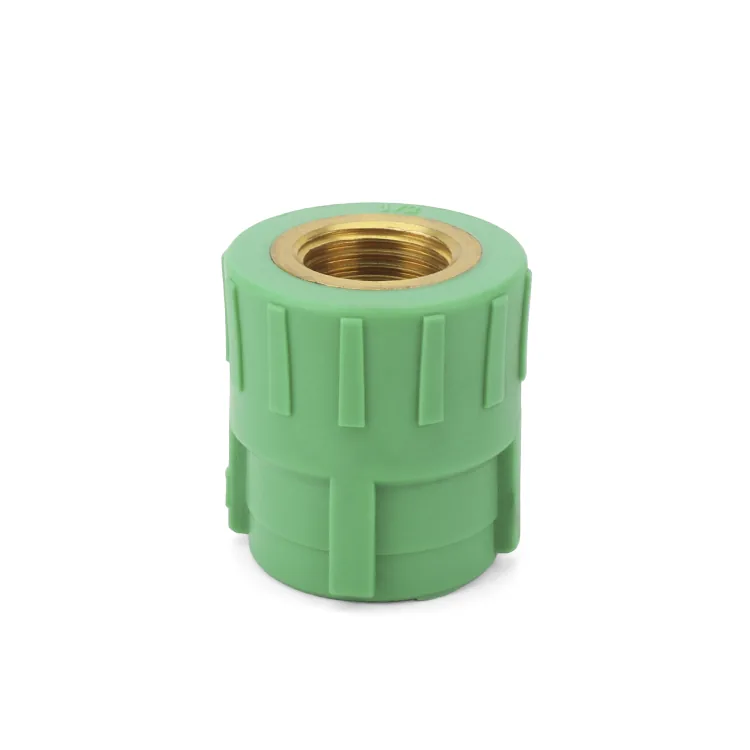
Metal transitions. Real installations are not all plastic, every system has points where PPR meets a brass or steel thread: at the manifold, at the meter, at a valve, at a mixer tap. That is what the brass-insert range is for, male and female sockets, elbows, tees and unions, plus brass double-unions and brass-core valves. The plastic side of these fittings is heat-fused exactly like any other socket; the metal side is sealed with PTFE tape on the thread, never over-tightened against the plastic body. Fuse first while the fitting is loose and easy to align, then make the threaded connection.
Pressure testing. Do not test a fresh system until every joint has passed its full cooling time, the largest joint on the run sets the wait. Fill slowly to purge air, then hold the specified test pressure and walk the line. A properly fused PPR system holds; a joint that weeps under test almost always traces back to one of the six mistakes in the next section, not to the pipe.
See brass-core valves & manifolds for metal transitions
Why PPR Welds Leak, and How to Avoid It
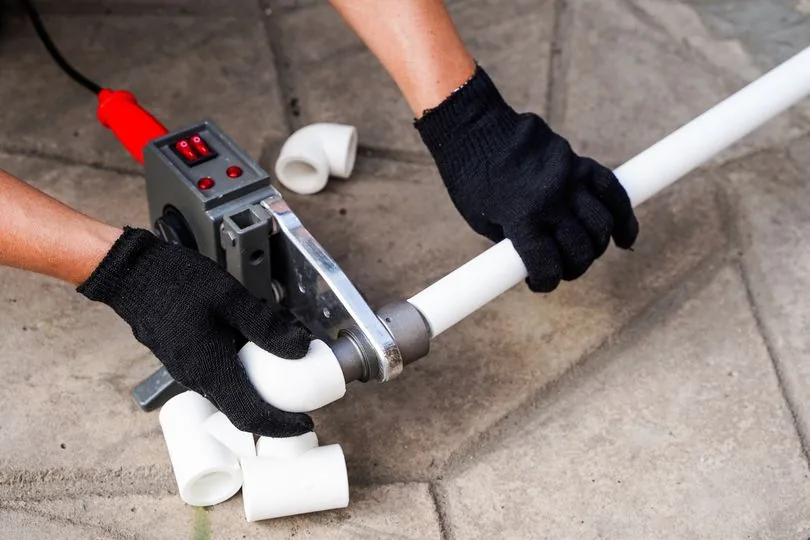
A PPR joint does not leak because the material is bad, it leaks because a step went wrong. These are the six failures we see behind almost every field complaint:
- Heating time too short, surfaces never fully melt, giving a cold “false weld” that looks joined but separates under pressure.
- Overheating, too long on the die carbonises the PPR and pushes a bead of molten material inward, narrowing or blocking the bore.
- Twisting while joining, rotating the pipe as you insert it tears the melt zone instead of fusing it.
- Moving before cooled, bending or loading a still-soft joint opens a hidden micro-leak.
- Dirty or wet surfaces, dust, oil, or condensation stop the two melts from bonding.
- Wrong temperature or worn dies, an under-temp welder or carbon-caked die never reaches proper fusion.
The single biggest reliability factor you do not control on site is the pipe itself: consistent resin and a stable wall give a wider, more forgiving fusion window. When the wall thickness drifts batch to batch, the “right” heating time drifts with it, and an installer who welded a good joint yesterday gets a false weld today with the same technique. That is where a 30-year manufacturer using 100% high-standard raw material and 10,000 moulds earns its place, batch-to-batch consistency means the same welding parameters work every time, in every colour and construction.