A socket pipe joint takes about eight seconds to make and lasts as long as the building does. The uncomfortable part, backed by peer-reviewed work on fusion joints, is that the worst faults leave no external signature at all — the seam looks neat, the bead runs continuous, and the interface never actually fused.
So this page is organised as eight faults rather than eight steps. Each names the DVS 2207-11 parameter that was violated, the symptom you can see on site without a lab, and the decision that follows: accept it, or cut it out before the wall closes. The parameters are not opinion — DVS 2207-11 puts the heated tool at 260 ± 10 °C and gives you roughly five seconds of heating at 20 mm and fifty at 110 mm. Miss the band in either direction and you get a different fault with a different symptom.
Key Takeaways
- DVS 2207-11 sets the heated tool at 260 ± 10 °C. The tolerance band is the specification — a bare “260” with a drifting element is how cold welds happen.
- Heating time scales hard with diameter: 5 s at 20 mm, 8 s at 32 mm, 24 s at 63 mm, 50 s at 110 mm. Using a 20 mm rhythm on 63 mm pipe under-fuses every joint on the run.
- The changeover window is the least-taught number in the trade. You have roughly four seconds at 20 mm from pulling the heater to full insertion before the melt skins over.
- A cold weld has no obvious external characteristics and is easily overlooked — bead reading screens gross faults only. US Department of Energy inspection work found the bead itself plays an insignificant role in joint strength.
- Passing a pressure test is not proof of a sound joint. Research on polyethylene found creep testing revealed welding-defect effects that short hydrostatic tests did not.
- Above roughly 63 mm, hand socket fusion stops being reliable — the insertion force exceeds what an installer can apply squarely. Move to a jig.
- Never rotate the pipe during insertion or cooling. DVS-based practice prohibits it, and a twisted joint is a cut-out, not a repair.
- A 50-year warranty covers material and manufacturing defects. It does not cover a joint the installer under-heated — which is precisely why these eight faults are worth knowing.
The parameters every fault is measured against
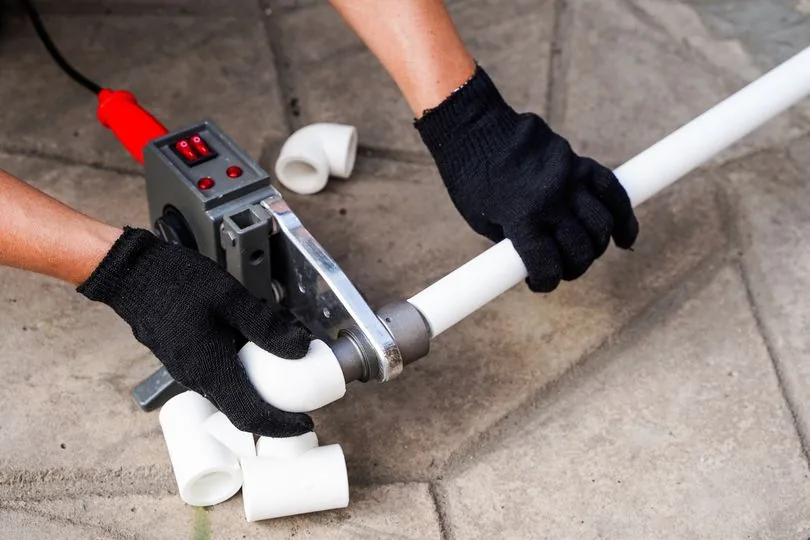
Socket fusion has three timed phases and one temperature. Heating: pipe and fitting sit on the heated tool faces. Changeover: the heater comes off and the parts are pushed together. Cooling: nothing moves. Every fault in this article is one of those four values going out of band, which means you can diagnose backwards from a symptom to the phase that went wrong.
DVS 2207-11 is the German welding standard that actually contains these numbers for PP-R. Most installation pages cite ISO 15874 and stop there, but ISO 15874 does not tell you to heat 32 mm pipe for eight seconds. DVS does.
| Outside diameter | Heating time | Changeover time | Cooling time |
|---|---|---|---|
| 20 mm | 5 s | 4 s | 2 min |
| 25 mm | 7 s | 4 s | 2 min |
| 32 mm | 8 s | 6 s | 4 min |
| 50 mm | 18 s | 6 s | 4 min |
| 63 mm | 24 s | 8 s | 6 min |
| 75 mm | 30 s | 10 s | 8 min |
| 90 mm | 35 s | 10 s | 10 min |
| 110 mm | 50 s | 12 s | 8–10 min |
Two caveats. Published sources disagree at the top end — one gives 110 mm eight minutes of cooling, another gives ten, so the row shows the range and you take the longer one. And if the chart printed on your own welder differs, use the welder’s chart: tool geometry and element mass vary between machines.
Notice how non-linear the heating column is. From 20 mm to 63 mm the diameter roughly triples while heating time goes up almost five times, because you are melting a wall that got thicker as well as a circumference that got longer. At PN20, PP-R runs SDR 6, so the wall at 20 mm outside diameter is about 3.4 mm. That is a lot of material to bring to melt in five seconds, and it is why four seconds versus six is not a rounding error at small sizes.
Fault 1: The cold weld — the one you cannot see
Cold welds have no obvious external characteristics and are easily overlooked. The seam looks neat, the bead looks continuous, and molecular diffusion across the interface never happened.
Either the element never reached 260 ± 10 °C, or the parts came off it too early. Both leave two surfaces that touched while soft but never mixed. Fusion is not glue — the polymer chains from the pipe have to migrate into the fitting and tangle with the chains there. Below the right temperature or dwell, that entanglement is insufficient and the joint is two parts pressed together.
On site you will see almost nothing, which is why this fault comes first. Your only screens are indirect: a heater slow to come up to temperature, a machine with a bimetallic dial instead of a digital readout, and the first two or three joints after switching on.
The decision: you cannot inspect your way out of this one, so prevent it. Give the machine a genuine warm-up, then sacrifice one joint — weld a scrap coupling to an offcut, let it cool, and split it lengthways with a hacksaw. A sound joint shows a continuous fused zone with no visible line between pipe and fitting. A cold weld shows a clean interface you can trace with a fingernail. Cut one at the start of every session and after any long break.
Fault 2: Over-heating and the bead in the bore
The instinct that follows fault 1 is to heat everything a bit longer for safety. That produces the opposite failure, and it is the one your client feels rather than sees.
Too much melt has nowhere to go but inward. The excess gets pushed ahead of the pipe as it seats and curls into the bore as an internal lip. On a 20 mm PN20 pipe the bore already starts at only around 13 mm, so there is little room before a melt ring throttles flow. Multiply that by every elbow and tee on a bathroom run and the complaint arrives as weak pressure at the shower, not as a leak. Push the heating far enough and the resin scorches, leaving a brittle discoloured weld.
Four things give it away: an oversized drooping bead instead of a small even ring; brown or grey streaking in the melt zone; an internal lip of curled plastic when you cut a scrap joint open; and flow that falls off across a completed run even though nothing leaks.
The decision: one over-heated joint on a basin branch is usually tolerable. A pattern of them on a 20 mm or 25 mm main is not, because restrictions stack and you cannot fix a bore from outside. Drop the heating back to the table value, then count how many joints you made with the long timing — that number decides whether you cut one joint out or re-run a leg.
Fault 3: The missed changeover window
This is the parameter almost nobody teaches, and the one that quietly ruins joints on installers who otherwise do everything right. At 20 mm and 25 mm you have about four seconds from lifting the parts off the heater to having them fully seated. At 110 mm you get about twelve.
Molten PP-R starts skinning over the instant it meets air. Four seconds is not a suggestion — it is roughly how long the melt stays open enough to fuse. Anything that steals that time produces a partial or cold weld even with perfect heating: fumbling the pipe off the heater face, repositioning your grip, checking a depth mark you should have made earlier, or reaching around a joist to line up the fitting.
The diagnostic here is behavioural rather than visual: if you had to stop and think between the heater and the seat, assume the window closed. A weak or interrupted bead supports that, but proves nothing either way.
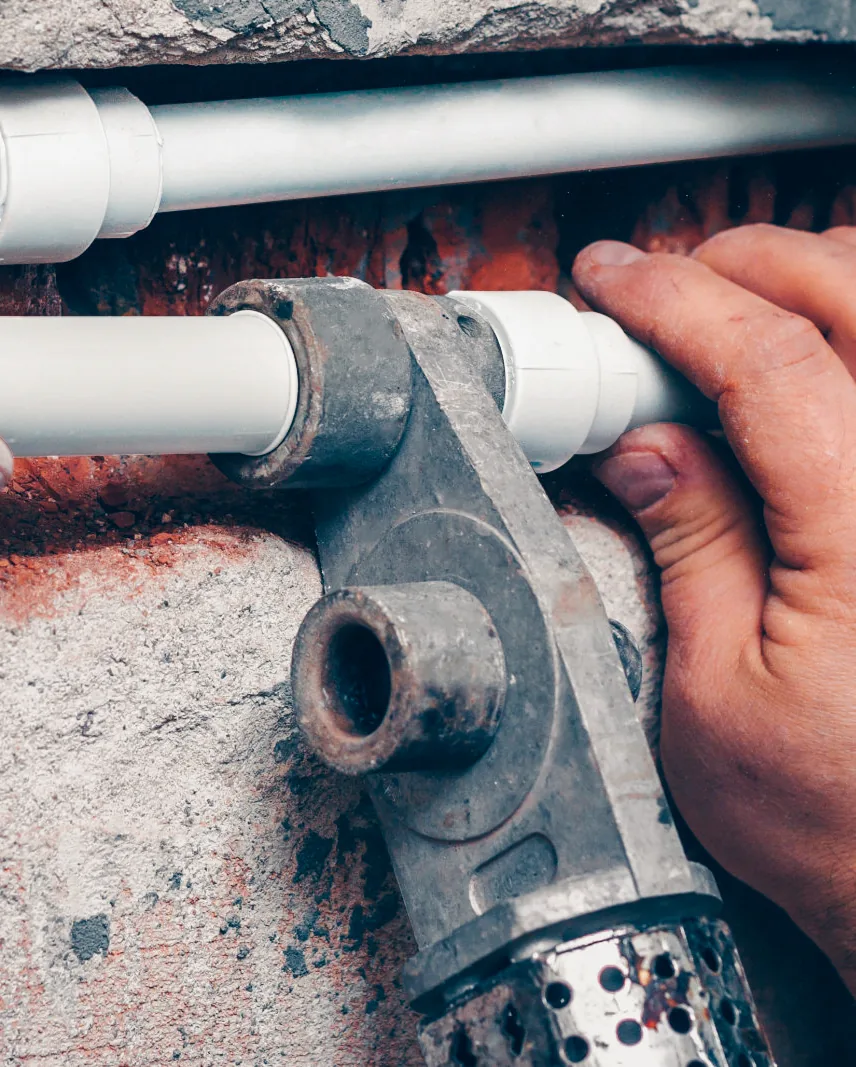
The decision: rehearse the move before you heat. Mark depth, dry-fit the alignment, confirm your hands can travel the path unobstructed. In tight voids, assemble the sub-section on the bench and make one final joint in place instead of three in a confined space. If you hesitated mid-changeover, cut the joint out — this is a four-second error that a pressure test will not find for you.
Fault 4: Short insertion and the missing impression
Here is some good news after three invisible faults: this one you can actually read off the finished joint.
The pipe did not reach full socket depth, so the fused area is shorter than designed. Insertion depth climbs with diameter — typically around 14.5 mm at 20 mm outside diameter and about 37 mm at 110 mm — but socket depth is a fitting dimension, not a pipe dimension, and it varies between fitting makers. That variation is why you measure your own fittings instead of trusting a table you found online.
Read the impression the socket left on the pipe. A missing impression means the joint is too short and the pipe never seated fully. An impression that is heavier on one side means pipe and fitting were misaligned during fusion, so one side of the interface got less contact. Both are visible before you pressurise anything, which makes this the highest-yield check on a completed run.
The decision: cut out anything with a missing impression, because no version of that joint improves with time. To stop it recurring, mark depth before heating — seat a cold pipe in a cold fitting, mark where the shoulder lands, and add a small margin past the line, roughly a tenth of the socket depth, so over-insertion shows up as well as under-insertion. A pen mark takes three seconds and removes the most common geometric fault on this list.
Fault 5: The twisted joint
Rotating the pipe as you push it in feels like it should help the parts seat. It is explicitly prohibited, and it appears on published lists of common PP-R welding mistakes for good reason.
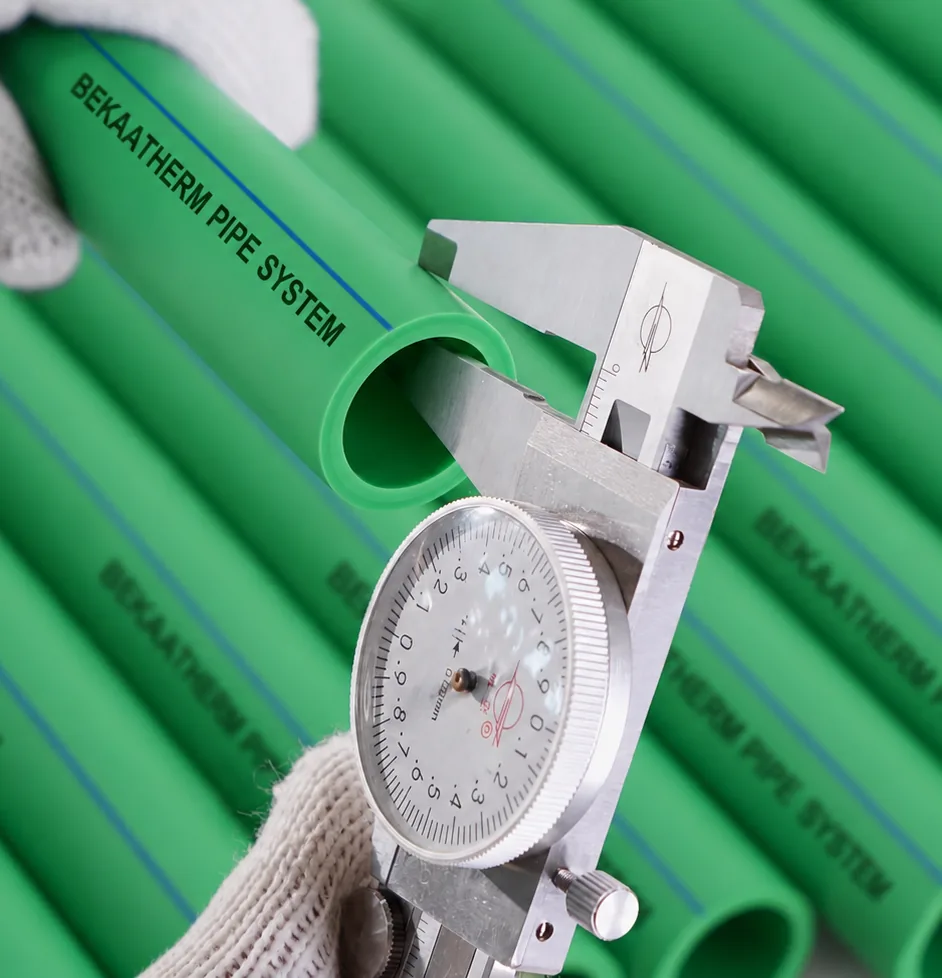
Twisting shears the melt instead of compressing it. Two surfaces that were about to fuse get smeared past each other, dragging contamination through the interface. The same applies to rotating parts on and off the heater faces, and to nudging a joint straight during cooling — once the melt starts to set, any rotation tears the bond you just made. Look for a bead that spirals around the fitting mouth instead of sitting as an even ring; on branded pipe, print that has wound relative to the fitting is another giveaway.
The decision: cut it out. This is not a marginal call — you sheared the fusion zone during the only window in which it could have formed. Push straight to the mark and hold still. Get alignment right by pre-marking a clock position on the pipe before heating, so you can aim the tee outlet without correcting it afterwards.
Fault 6: Contaminated or worn heater faces
Your welder degrades across a working day, and the joints degrade with it. This fault is unusual on the list because the tool causes it rather than the technique.
Material left on the socket and spigot faces carbonises. That carbon disrupts heat transfer, so parts run colder than the display claims, and it forms a barrier over the non-stick coating. Without smooth release, the molten surface layer gets stripped off the pipe as you pull it away — the melt you needed for fusion is now stuck to the machine. The published wording for this outcome is a poor joint or complete joint failure. Worn PTFE does the same even when clean.
The signs: baked-on residue that is brown, glossy and hard to wipe; bare metal showing through at the leading edge of the spigot; parts squeaking as you withdraw them; and joint quality falling off through the afternoon on a run where nothing else changed.
The decision: wipe the faces between joints while the tool is hot, using cloth rather than anything metal — a screwdriver blade through the PTFE turns maintenance into replacement. Replace worn faces instead of working around them. Dust, oil and moisture on the pipe end all appear on published mistake lists too, and a dry cloth before every joint costs nothing.
Fault 7: Moving the joint before it has cooled
Cooling times are where programme pressure does its damage, because cooling is the phase that looks like nothing is happening. It is two minutes at 20 mm and up to ten minutes at 110 mm, and the joint is not a joint until that time has passed.
The fused zone is still soft and still crystallising. Bending the pipe to clip it, hanging weight off the new joint, dropping the assembly, or pressurising the line all load a bond that has not developed its strength yet. The damage is usually partial — a section of the interface separates while the rest holds — which is the worst outcome, because it survives commissioning and fails later.
Frequently you see nothing. Sometimes a fine crack in the bead where the joint was flexed, or a pipe crept out of alignment after being clipped under tension. On a busy site the real signal is procedural: if one person clips while another welds the same run, cooling times are being violated whether anyone noticed or not.
The decision: sequence the work so cooling happens for free. Weld a section, move on, come back to clip. Never use a fresh joint to lever pipe into a bracket. And leave a margin before pressurising — the table times are for handling, and there is no reason to sit at the edge of them when you are about to load the system.
Fault 8: Welding cold, wet, or in the wind
DVS 2207 requires the welding area to be protected from humidity, wind, strong sunshine, and temperatures below +5 °C, and recommends a welding tent. Frost, ice and moisture must be removed from the joining area by means of heat — not wiped, not left to evaporate.
Wind strips heat off the parts during the changeover, when the melt is already skinning. Moisture flashes to steam at the interface and leaves voids. Direct sun heats one side of the pipe more than the other, so the melt is uneven around the circumference. And here is the detail worth knowing: the DVS text attributes the sub-5 °C problem less to the plastic than to the limited manual skill of the welder in cold conditions. Cold hands miss four-second windows. That makes it a human error mode, which is more honest and more actionable.
Inconsistency is the signature. Beads that vary joint to joint on the same diameter, same machine, same hour, point at the environment rather than the technique. A gusty balcony run in January produces exactly this pattern.
The decision: enclose the area, bring pipe and fittings to the same temperature rather than pulling cold stock off the van, and drive off frost or moisture with heat. Do not invent a winter time correction — no standards body publishes a quantified adjustment for PP-R socket fusion, and adding seconds by feel just moves you from fault 1 to fault 2. Cut a test weld under the actual conditions and let the cut face decide.
Why your pressure test is a weak filter
Most installers treat the leak test as the verdict. It is closer to a smoke alarm: good at catching the joint that failed outright, poor at catching the joint that will fail in year four.
Research on polyethylene pipe found creep testing was more effective than the hydrostatic strength test at revealing how welding defects affect long-term performance. That study is on PE rather than PP-R, so treat it as the physics rather than a PP-R measurement — but the physics carries. A short pressure test loads the joint briefly and elastically. Service loads it continuously for decades, at temperature, and sustained loading is what finds a partially fused interface.
The same caution applies to bead reading, which this article has leaned on throughout. US Department of Energy inspection work on fused plastic pipe joints found that assessing bead size and shape visually is subjective and can be misleading, and that the bead itself plays an insignificant role in joint strength. Read the bead to catch gross faults — it is free and it works for that. Do not treat a good-looking bead as certification of the joint underneath.
On test pressure and duration, follow your project specification or local code rather than a number from a blog. Commonly quoted practice ranges from thirty minutes to twenty-four hours at 1.5 times working pressure, and those are not the same test. Confirm what applies with the specifying engineer or relevant authority, since requirements vary by market and building type. Whichever number you use, the test is not what makes the joints good — the eight faults above are.
Best for, and not for
- Best for: 20–63 mm branch and riser work, in-wall and in-screed distribution, repairs and short additions.
- Not for: diameters above roughly 63 mm by hand. Parameters are tabulated well beyond that, but the insertion force exceeds what an installer can apply squarely and repeatably. Use a bench jig.
- Also not for: unprotected outdoor work below +5 °C, positions where you cannot complete the changeover in one movement, or any joint that must be pressurised before its cooling time elapses.
Which standard actually covers the joint
“The pipe is ISO 15874 certified” gets said as though it settles the joint question. It does not, and the part structure explains why.
| Standard | What it qualifies | Does it prove the joint? |
|---|---|---|
| ISO 15874-1 | General requirements for the PP system | No — framework only |
| ISO 15874-2 | Pipes | No — the pipe alone |
| ISO 15874-3 | Fittings | No — the fitting alone |
| ISO 15874-5 | Fitness for purpose of the assembled system | Yes — this is the joint part |
| DVS 2207-11 | The welding procedure itself | It is how you make the joint |
Parts 2 and 3 qualify pipe and fittings separately. ISO 15874-5 is the one that tests the assembly, with internal pressure testing to the ISO 1167 series and thermal cycling to EN 12293. That is the difference between a certified pipe and a certified system, and it changes the question you ask a supplier: not “is your pipe certified” but “which parts of 15874 does the certification cover, and does the fitting come from the same system.” ISO 15874-1 sets the framework the other parts hang from.
This matters at the joint for a practical reason. Socket depth and wall thickness both trace back to DIN 8077 for dimensions and DIN 8078 for general quality requirements. When a pipe is out of round or a socket is out of tolerance, the interference geometry that makes fusion work is wrong before you switch the machine on, and no amount of correct timing fixes it. Mixing an unbranded fitting into a certified pipe run is how installers inherit fault 4 without making a mistake themselves. Read this alongside the step-by-step fusion procedure if you are training someone new, and keep pipe and fittings from one system rather than mixing brands mid-run.
What the warranty does and does not cover
This affects who carries the risk on your job, so it is worth being direct. A 50-year warranty against material and manufacturing defects — matched to the 50-year design life at rated pressure and 20 °C under ISO 15874 — covers the pipe and fitting as supplied. It does not cover a joint that was under-heated, twisted, or pressurised before it cooled. No manufacturer warranty does, and any supplier claiming otherwise is telling you something that will not survive a claim. The fusion is yours. The material is certified to SKZ, ISO 15874, CE and WRAS — see SKZ and WRAS Approvals for what those marks test.
A five-minute routine before the wall closes
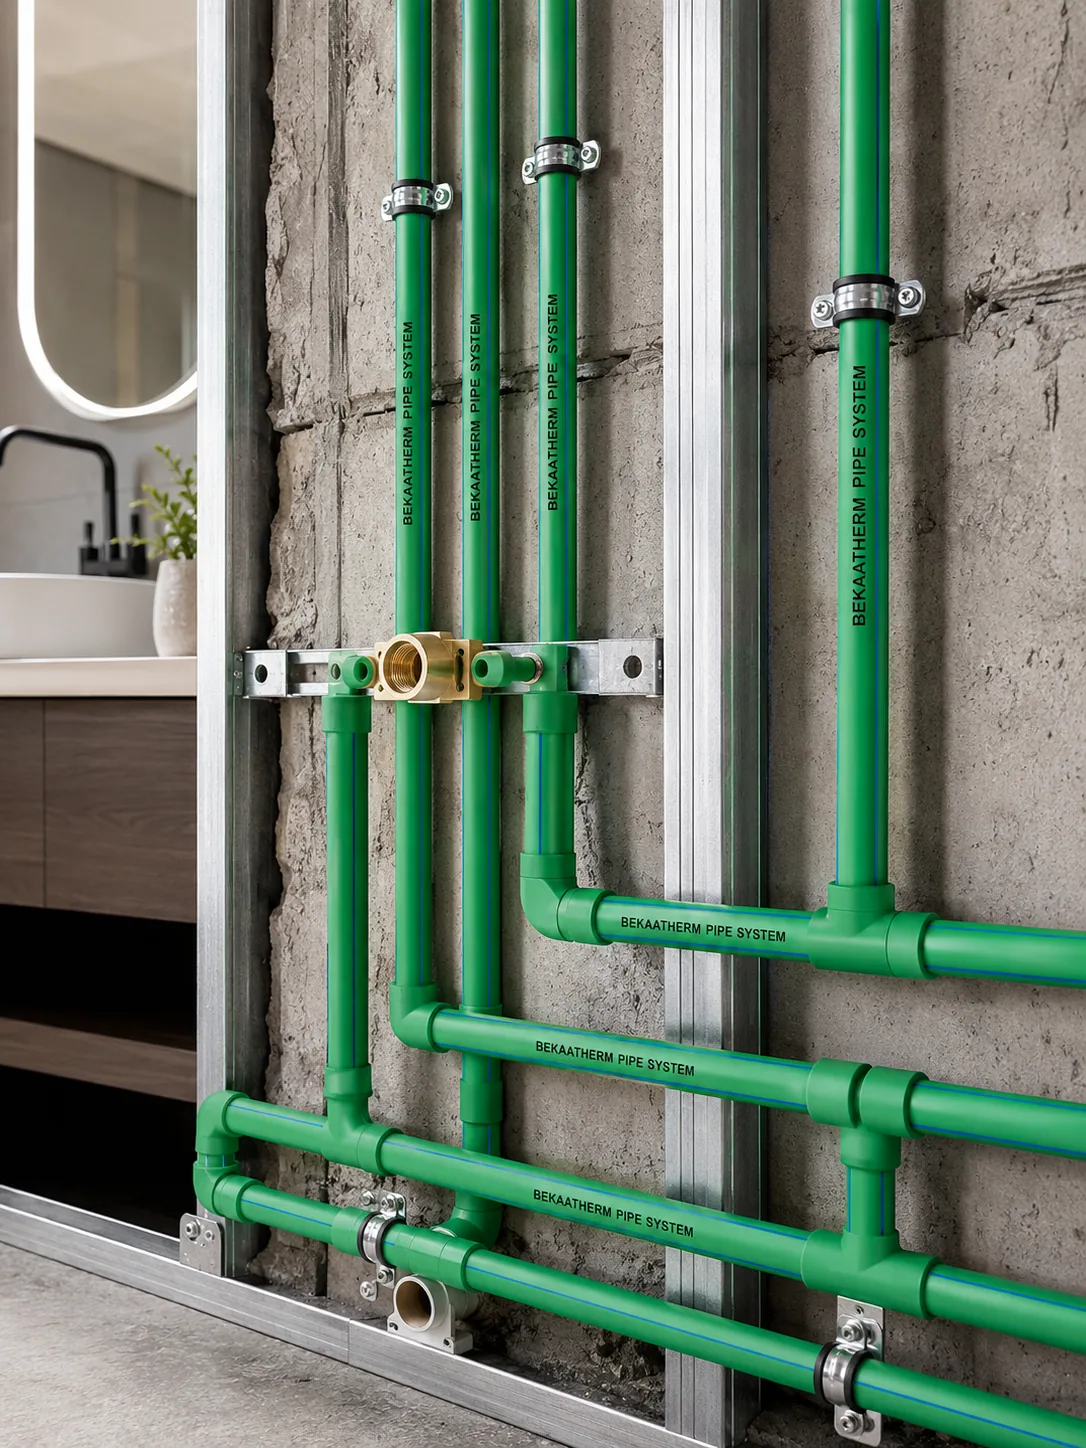
Take a real scenario: a 25 mm PN20 hot and cold distribution run in a residential wall chase, fourteen joints, welded across an afternoon, plaster booked for the following morning.
Before the first joint, let the machine reach temperature and confirm the display reads inside 260 ± 10 °C. Weld one scrap coupling, let it cool, split it with a hacksaw. A continuous fused zone means your setup is good; a visible interface line means stop and fix the machine. That single cut is the only direct evidence you will get all day, and it costs one fitting.
During the run, mark depth on every pipe end before heating. Count seven seconds on the heater at 25 mm, then move to the seat in one movement without twisting. Wipe the heater faces between joints while they are hot. Weld ahead and clip behind, so nothing gets bent inside its two-minute cooling window.
Before the plasterers arrive, walk the run with a torch and check three things on every joint: the socket left a complete impression, that impression is even all the way round, and the outer bead is a small consistent ring with no scorching, spiral drag or drooping. Anything failing those three gets cut out now, while it costs an hour. After the plaster it costs a wall — and since PP-R systems are rated for a 50-year design life, the joint you leave in today is one you are betting decades on.
Conclusion
Seven of the eight faults come down to a number: a temperature band, a count of seconds, a depth, or a cooling time. The eighth is the environment you were standing in. None require a lab to avoid, and none are forgiving once the plaster is on. What makes socket fusion trustworthy is respecting four values that a German welding standard settled a long time ago.
If you are specifying or buying rather than welding, check that your pipe and fittings come from one dimensionally controlled system, and ask which parts of ISO 15874 the certification covers. That is the part of joint reliability you can buy; the rest you have to install. If your project runs on polyethylene rather than PPR, socket fusion is rarely the answer — our HDPE pipe jointing methods comparison explains where each method belongs.
Frequently Asked Questions
Why did my PP-R joint leak after it passed the pressure test?
A short pressure test loads a joint briefly, while service loads it continuously for years. Research on polyethylene found creep testing revealed welding-defect effects that hydrostatic strength testing did not, so a partially fused interface can pass commissioning and separate later.
What temperature should a PP-R socket fusion welder be set to?
DVS 2207-11 specifies 260 ± 10 °C for PP-R socket fusion. Treat the tolerance band as the specification, and prefer a machine with a digital readout so you can confirm the element is inside it rather than trusting a dial.
How many seconds do I heat 20 mm and 25 mm PP-R pipe?
Published DVS 2207-11 tables give 5 seconds at 20 mm and 7 seconds at 25 mm, rising to 24 seconds at 63 mm and 50 seconds at 110 mm. If the chart on your own welder differs, follow the welder — element mass and tool geometry vary between machines.
Can you tell a cold weld just by looking at it?
Usually not. Cold welds have no obvious external characteristics and are easily overlooked, and inspection research has found bead size and shape to be a subjective and misleading indicator. Cut a scrap test joint open instead of trusting the outside of a real one.
Can I twist the pipe as I push it into the fitting?
No. Rotating parts during insertion, removal from the heater, or cooling is prohibited in DVS-based practice and appears on published lists of common PP-R welding mistakes. Twisting shears the melt instead of fusing it, and the joint should be cut out.
Can I weld PP-R outdoors in cold weather?
Only with the area protected. DVS 2207 requires protection from humidity, wind, strong sunshine and temperatures below +5 °C, recommends a welding tent, and requires frost, ice and moisture to be removed by means of heat. No standards body publishes a quantified winter time correction.
What size is too big for hand socket fusion?
Roughly 63 mm is the practical ceiling. Parameters are tabulated well above that, but the insertion force required exceeds what an installer can apply squarely and repeatably by hand. Above 63 mm, use a bench jig or a fusion machine.
Does the pipe warranty cover a joint that failed?
A 50-year warranty against material and manufacturing defects covers the pipe and fitting as supplied, matched to the 50-year design life at rated pressure and 20 °C under ISO 15874. It does not cover installation error such as under-heating, twisting, or early pressurisation.